The Big Pig: Momofuku Bo Ssam

Pork and coffee are perhaps the *only* two reasons to find oneself not only conscious but outside in 20 degree weather (Fahrenheit, not Celsius) at 7:20 in the morning. And it better be good pork. The coffee is, well, just a necessity of life.

But the pig was going to be good. The recipe came from the revered chef, David Chang, of New York's Momofuku fame. The man knows his pig. And this recipe is a pork-lover's dream.

But dreams take work. Lots of work. "Getting up early so the stupid pig can marinate properly" work.

So that's how I found myself at the butcher's at a horrifically early hour to purchase what David Chang (and apparently the rest of America)  interestingly calls "pork butt" or "picnic ham". Well, try saying that to a British butcher and not getting laughed out of the store. A quick perusal of the web gave me the right vocab to attack the situation. Ah...Boston butt! That'll explain everything!
Lies.
At least the web let me know what part of the piggy I was actually ordering, which as it happened, was the shoulder. That solved all problems.
So FYI, chefs, if ordering from a butcher in the UK, you want bone-in pork shoulder for this recipe.

But this was just step one of a full day pork-lover's marathon. The pig had to marinate in a crust of salt and sugary goodness for 6 hours. It had to be slowly roasted for another 6 after that. And then, as the piece de resistance, it had to be practically incinerated for 15 minutes to get that fabulously crackly sugary skin that everyone loves so much. Needless to say, this was going to take some time. And that doesn't even mention the sauces. Not one, but two sauces. Hey, this recipe is all about time investment.

But thankfully the sauces take little to no time to put together while the pig is roasting away. Apart from mincing 1/2 cup of ginger (which takes just as long as you think) and slicing some scallions/spring onions, it's a fairly quick job.

So piggy and I spent the day together. But there was no way I was eating piggy alone. This is a recipe for a veritable army. It serves *at least* six people, so start calling up friends, neighbors, and hey, people you find on the street. But guard that beautiful crackling skin wisely. Everyone knows it's the best part and you'll have to fight long and hard to keep some for yourself once they try it.

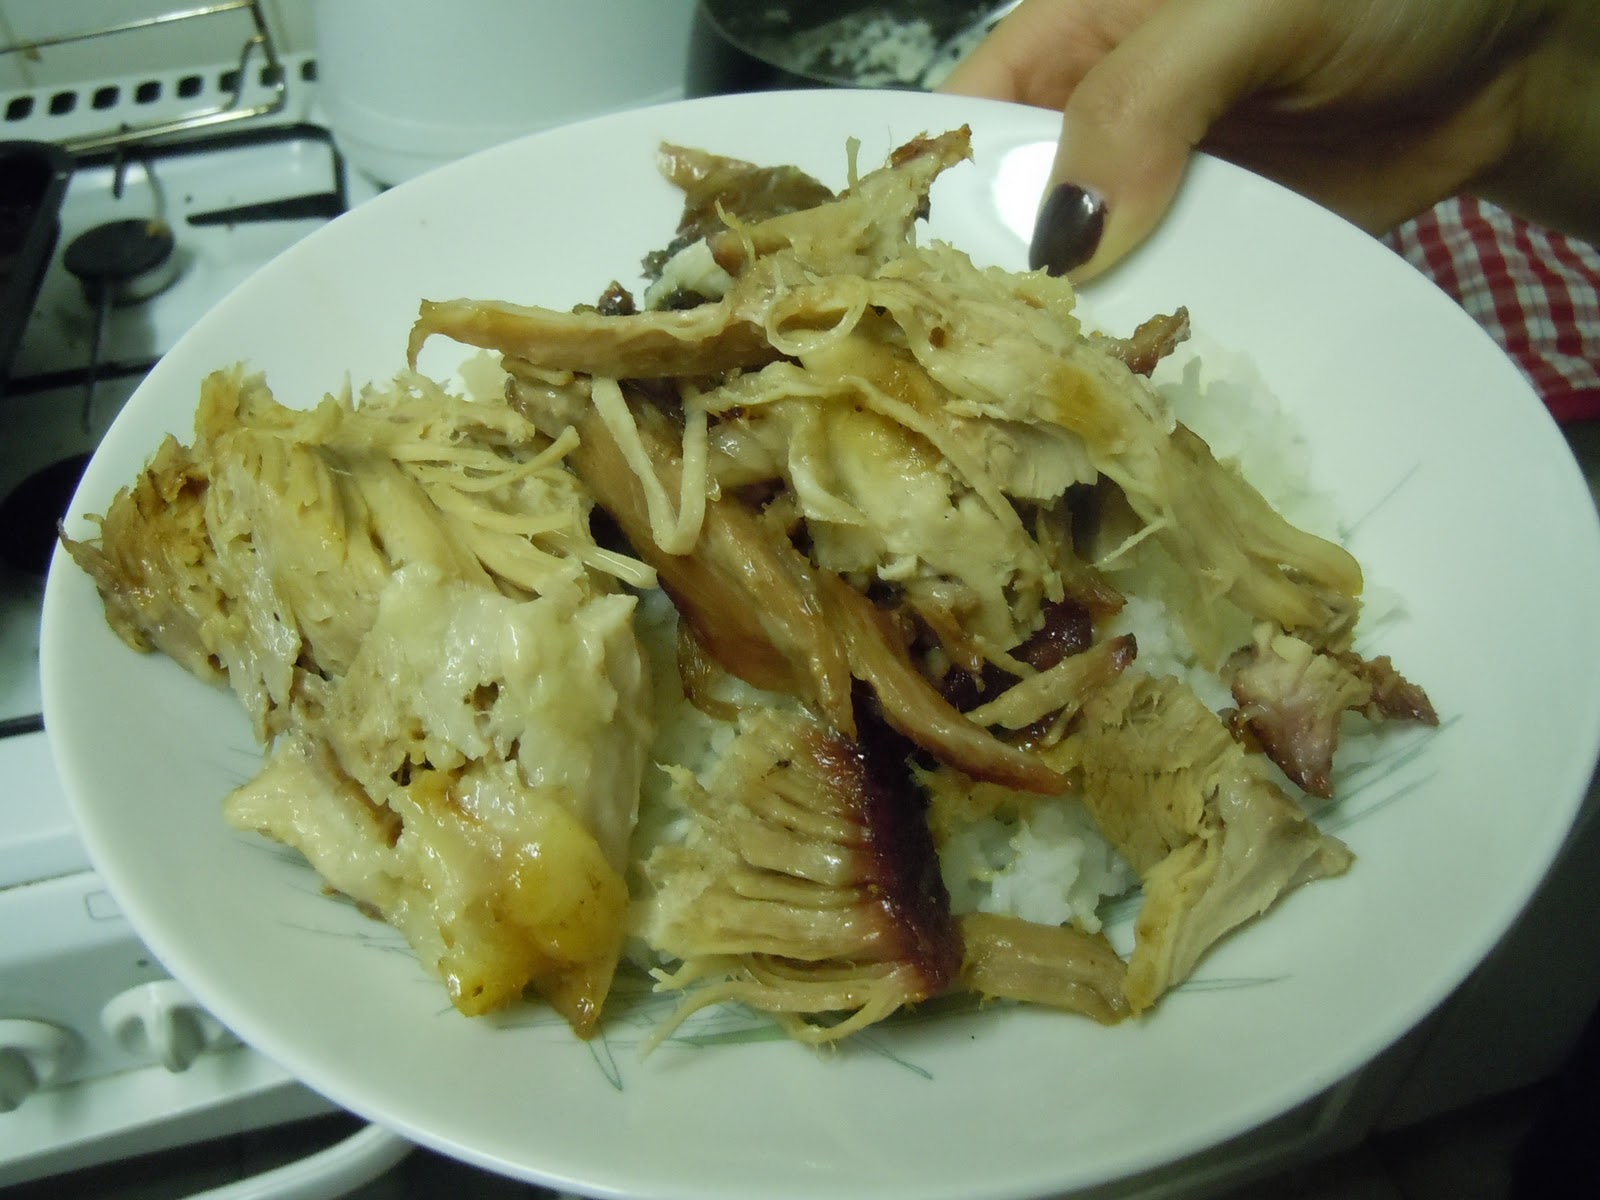
Serve the bad boy on top of plain white rice and set the condiments out for people to taste and try as they see fit. Of course, the pig was delicious on its own, but I have to hand it David Chang, the sauces made it even better.

Serves 6-10

Ingredients (Recipes for sauces follow)

The big pig at the start of the day

Pork Butt

1 whole bone-in pork butt, picnic ham, or pork shoulder (depending on your geography) approx. 8 to 10 pounds or 4-4.5 kilograms

1 cup white sugar

1 cup plus 1 tablespoon kosher salt

7 tablespoons brown sugar

Method for Pork
Place the pork in a large, shallow bowl or roasting pan. Mix the white sugar and 1 cup of the salt together in another bowl, then rub the mixture all over the meat. Cover it with plastic wrap and place in the refrigerator for at least 6 hours (or, if your fridge is full and there happens to be a wintery tundra outside, wrap that puppy well and stick it outside), or overnight.
The pig in salt and sugar
When you’re ready to cook, heat oven to 300. Remove pork from refrigerator and discard any juices. Place the pork in a roasting pan and set in the oven and cook for approximately 6 hours, or until it collapses, yielding easily to the tines of a fork. (After the first hour, baste hourly with pan juices.) At this point, you may remove the meat from the oven and allow it to rest for up to an hour.
The pig at the 4 hour mark
The pig after 6 hours
Make your sauces and prepare 2 cups of white rice (see recipes below) and kimchi if desired. When your accompaniments are prepared and you are ready to serve the food, turn oven to 500. In a small bowl, stir together the remaining tablespoon of salt with the brown sugar. Rub this mixture all over the cooked pork. 
The final step: brown sugar and salt
Place in oven for approximately 10 to 15 minutes, or until a dark caramel crust has developed on the meat. Serve hot, with the accompaniments.
The final product.  Pig heaven.


Ginger-Scallion Sauce

2½ cups thinly sliced scallions, both green and white parts

½ cup peeled, minced fresh ginger

¼ cup neutral oil (like grapeseed)

1½ teaspoons light soy sauce

1 scant teaspoon sherry vinegar

½ teaspoon kosher salt, or to taste

Ssam Sauce

Ssamjang and Kochujang

*Chef's note: The 2 main ingredients to the sauce requires a bit of searching in Asian markets. The ones I found come in tubs with fairly general descriptions such as "Red pepper paste" for kochujang. As always, it's best to ask just to make sure you're buying the right item!

2 tablespoons fermented bean-and- chili paste (ssamjang, available in many Asian markets, and online)

1 tablespoon chili paste (kochujang, available in many Asian markets, and online)

½ cup sherry vinegar

½ cup neutral oil (like grapeseed)

Accompaniments

2 cups plain white rice, cooked

Kimchi (available in many Asian markets, and online)

Method

To make the ginger-scallion sauce: In a large bowl, combine the scallions with the rest of the ingredients. Mix well and taste, adding salt if needed.

To make the ssam sauce: In a medium bowl, combine the chili pastes with the vinegar and oil, and mix well.

Prepare rice and put kimchi and sauces into serving bowls.

Baked Eggs with Yogurt and Chile

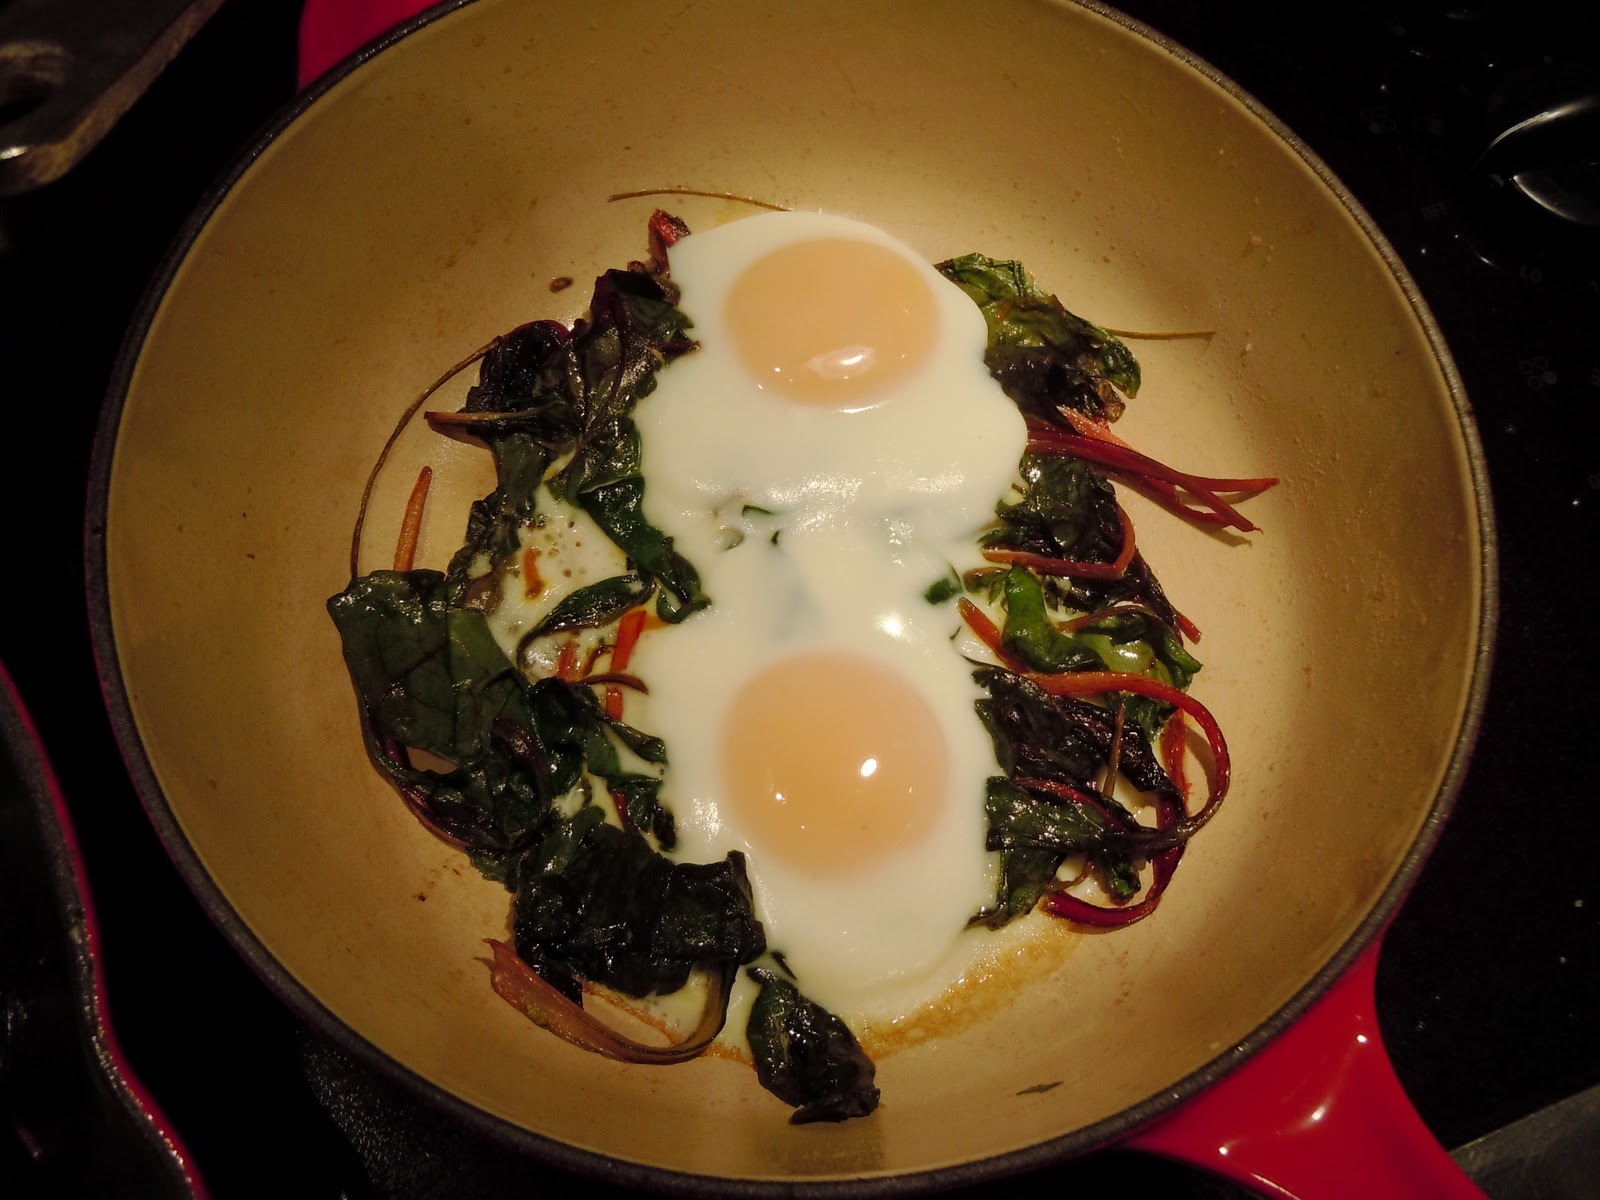
I am a recent convert to the baked egg. For years, I slaved away poaching, boiling, and scrambling. Who knew the wonders awaiting me if I just popped those puppies in the oven? Even with this recent knowledge, my collection of baked egg recipes has been relatively small. Once again, it has been the year of the Yotam. Faced with an abundance of eggs and chard, his Turkish-inspired baked eggs convinced me yet again that this may be the best egg preparation ever.

Take a simple recipe of baked eggs and add flavored yogurt and butter to it. Heaven. Absolute heaven. I mean, I'm sure the eggs and chard by themselves would be lovely, the two toppers to this meal sent the experience over the edge. And it's easy. Dead easy. Don't skip on either the yogurt or butter. You'll hate yourself for it later.

Serves 2

Ingredients
3/4 lb (about 14 cups) arugula or chard
2 tbsp olive oil
salt
4 eggs
3/4 cup Greek yogurt
2 garlic cloves, crushd
4 tbsp unsalted butter
1/2 teaspoon plain chile flakes
1/2 teaspoon sweet paprika
6 sage leaves, shredded

Method
Preheat the oven to 300 F. Place the arugula/chard and oil in a large pan, add some salt and saute on a medium heat for about 5 minutes or until the arugula wilts and most of the liquid has evaporated.


Transfer to a small ovenproof dish and make four deep indentations in the arugula. Carefully break an egg into each hollow, taking care not to break the yolk. Place in the oven to cook for 10-15 minutes, or until the egg whites have set.

While the eggs are in the oven, mix the yogurt with the garlic and a pinch of salt. Stir well and set aside; do not chill.

Melt the butter in a small saucepan. Add the chile and paprika and a pinch of salt and fry for 1 to 2 minutes, or until the butter starts to foam and turns a nice golden-red. Add the sage and cook for a few more seconds. Remove from the heat.

Once the eggs are cooked take them out of the oven. Spoon the yogurt over the center and pour the hot chile butter over the yogurt and egg. Serve immediately.

Sweet Corn Polenta with Eggplant Sauce

I have yet to find a polenta-based dish I don't adore. And Yotam was kind enough to provide me with yet another means of enjoying some sweet corn action, combined with a glorious Italian eggplant sauce.

Now, fair warning, this is not standard polenta. You create a polenta-type meal from fresh corn kernels, butter, and feta and you blitz it all to oblivion. And how could that be wrong?

I used the eggplant sauce that Yotam recommends with the dish, but really, you can use any of your favorite polenta topping with this one. Cheese, mushrooms, the list is endless if you're as big a polenta fan as I am. But the eggplant sauce is good and perfect for a cold winter's night.

Serves 4

Ingredients

Eggplant Sauce
2/3 cup vegetable oil
1 medium eggplant, cut into 3/4-inch dice
2 tsp tomato paste
1/4 cup white wine
1 cup chopped peeled tomatoes (fresh or canned)
6 1/2 tbsp water
1/4 tsp sugar
1/4 tsp salt
1 tbsp chopped oregano

Polenta
6 ears of corn
2 1/4 cups water
3 tbsp butter, diced
7 oz feta, crumbled
1/4 tsp salt
black pepper

Method

Eggplant Sauce
Heat up oil in a large saucepan and fry the eggplant on medium heat for about 15minutes, or until nicely brown. Drain off as much oil as you can and discard it. Add the tomato paste to the pan and stir with the eggplant. Cook for 2 minutes, then add the wine and cook for 1 minute. Add the chopped tomatoes, water, salt, sugar, oregano and cook for a further 5 minutes to get a deep-flavored sauce. Set aside; warm it up when needed.

Polenta
Remove the leaves and silk from each ear of corn, then chop off the pointed top and stalk. Stand each ear upright on its base and use a sharp knife to shave off the kernels. You want to have 1 1/4 lbs of kernels.

Place the kernels in a medium saucepan and cover them with the 2 1/4 cups water. Cook for 12 minutes on a low simmer. Use a slotted spoon to lift the kernels from the water and into a food processor (or just use an immersion blender to save space and time) and reserve the cooking liquid. Process/Blend them for quite a few minutes, to break as much of the kernel case as possible. Add some of the cooking liquid if the mixture becomes too dry to process.

Now return the corn paste to the pan with the cooking liquid and cook, while stirring, on low heat for 10-15 minutes, or until the mixture thickens to a mashed potato consistency. Fold in the butter, the feta, salt, and some pepper and cook for a further 2 minutes. Taste and add more salt if needed.

Divide the polenta among shallow bowls and spoon some warm eggplant sauce in the center.

Fried Chickpeas with Chorizo and Kale

This is the best kind of "weeknight dinner" recipe. It's fast, simple, and perhaps the tastiest thing in the world. It also is phenomenal because it also technically could count as a "one pot" dish. Although I'm not sure Bittman would classify it as a main course, I've always thought of it as one. Basically because it's so delicious I never want anything else.

Although Bittman technically calls for spinach with this recipe, I prefer kale. It's texture is a bit richer and it fries up wonderfully under the broiler, giving it the perfect toasted crispness to go with the chorizo and chickpeas.

Also, for this recipe, the use of Spanish chorizo is a must. Any other sausage doesn't have the rich pepperiness of the Spanish variety and the simplicity of the dish requires a bit more of a kick from the meat. If you want to up the tastiness/smokiness factor even more, I recommend adding even more paprika (and perhaps even some cayenne) to the chickpeas as they're frying in the oil. It boosts the flavor wonderfully.

Paprika-ed chickpeas

Ingredients

1/4 cup olive oil, plus more for drizzling

2 cups cooked or canned chickpeas, as dry as possible

2 tsp. paprika

Salt and black pepper

4 ounces chorizo, diced

1/2 pound spinach, kale, or chard roughly chopped (I prefer kale)

1/4 cup sherry

1 to 2 cups bread crumbs

Method
Heat the broiler or grill.

Put three tablespoons of the oil in a skillet large enough to hold chickpeas in one layer over medium-high heat. When it’s hot, add chickpeas and sprinkle with salt and pepper and the paprika.

Reduce heat to medium-low and cook, shaking the pan occasionally, until chickpeas begin to brown, about 10 minutes, then add chorizo. Continue cooking for another 5 to 8 minutes or until chickpeas are crisp; use a slotted spoon to remove chickpeas and chorizo from pan and set aside.

Add the remainder of the 1/4 cup of oil to the pan; when it’s hot, add spinach and sherry, sprinkle with salt and pepper, and cook spinach over medium-low heat until very soft and the liquid has evaporated. Add chickpeas and chorizo back to the pan and toss quickly to combine; top with bread crumbs, drizzle with a bit more oil and run pan under the broiler to lightly brown the top.

Serve hot or at room temperature.

Yield: 4 servings.

Slow-Cooked Fish and Broad Bean Salad

This recipe (from the City Kitchen blog on the NY Times) was supposedly all about the joys of slow-cooked tuna (NOT out of a can!) and fresh shell beans.
Bah.

I'm all for the slow food movement. And I'm all for fresh shelled beans. I'll even give an "amen!" to the non-canned tuna. But unless a farmer's market and local fishery show up outside my door tomorrow, there was no way I was going to acquire either "crucial" item for this recipe.

So I improvised.

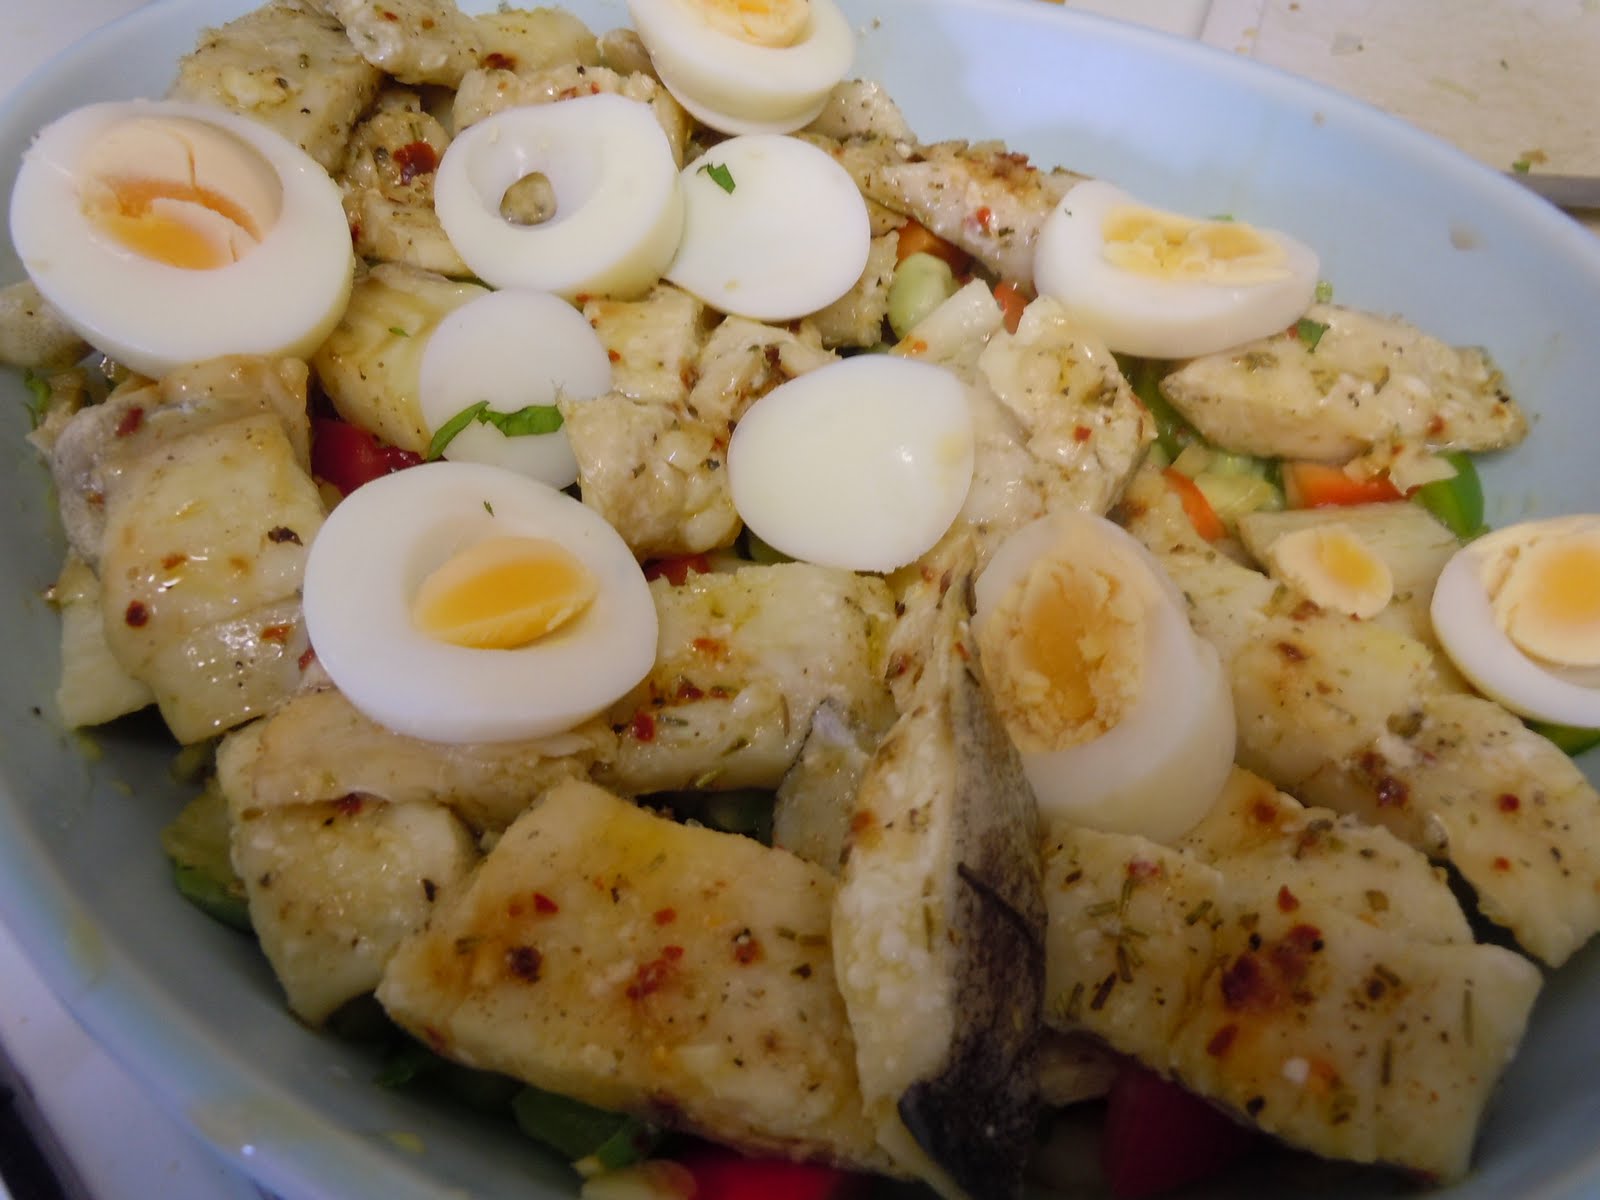
Fresh skinless albacore tuna morphed into haddock and the fresh shell beans became the frozen broad beans stocked by your friendly neighborhood Tesco. The best of all possible worlds? Certainly not. But, alas, this is what we have to work with. And, honestly, skin on fish is not the end of the world. Man up, people. It's delicious.

Anyway, don't get me wrong, this "salad" does take some time. But not nearly enough time as I feared. The fish cooks in about 20 minutes, during which time you can be doing all the slicing and dicing and reheating of frozen broad beans required. Speaking of how you cook the fish...you don't cook it. You poach it. In olive oil.
Hot damn.
I'm often wary of cooking fish, because I dread the schoolboy error of overcooking it and turning it into some sort of dry tasteless slop. Why don't they tell you there's an easy solution to this? Bathe that sucker in olive oil! Unless you forget the fish is in the oven and wander away in a fog, there's almost no physical way to overcook this. Granted, the less time the fish spends in the oven, the better. But still. Almost foolproof.

Time: About 1 hour

For the Fish:

1 pound skinless albacore fillet (or haddock in my case)
Salt and pepper
½ teaspoon red pepper flakes (I used guajillo chiles)
½ teaspoon marjoram
3 garlic cloves, roughly chopped
1 small rosemary sprig(or 2 tsp. dried rosemary)
½ cup olive oil, approximately


For the Salad:
1 cup finely diced red and yellow bell pepper
½ cup finely diced sweet white or red onion
A pinch of red pepper flakes
2 tablespoons red wine vinegar
1 small garlic clove, smashed to a paste with a little salt
2 tablespoons olive oil
Salt and pepper
1 tablespoon chopped basil or mint, or 1 teaspoon chopped marjoram
2 cups cooked shell beans (from about 2 pounds in the pod, or, you guessed it, cooked from frozen, just like nature intended)
2 or 3 hard-boiled eggs, shelled and halved, optional.

Method

1. Heat oven to 350 degrees. Cut the albacore into inch-thick slices and place them in a small ovenproof dish. Season generously with salt and pepper. Put the red pepper flakes and marjoram in a mortar or spice mill and make a rough powder. Sprinkle over the fish. Add the garlic and rosemary. Add oil to a depth of ½ inch.

2. Cover the dish and place in the oven for 10 minutes. Remove from the oven, turn the slices over, then return to the oven for another 10 minutes. The albacore should be cooked through, but barely. Let the fish cool in its dish, uncovered. Store the fish in its cooking juices in the refrigerator for up to a week. Bring to room temperature to serve.

3. To make the salad, toss the peppers, onion, pepper flakes, vinegar, garlic and olive oil in a large serving bowl. Season well with salt and pepper and stir in the basil, mint or marjoram. Add the shell beans, draining them well first, and the cooked albacore, broken into large pieces, and mix together. Serve with hard-boiled eggs, if you like.

Yield: 4 to 6 servings.