Gorgonzola Apple Quiche + Tart Dough

Quiche. Strikingy elegant (nothing says class like pastry dough) and yet amazingly humble. Quiches are ubiquitous now on lunch menus both in the States and in England. They can be served warm or cold, alone or with a salad, and, really, (in my opinion) are appropriate at any part of the day. Tea time? Quiche! Breakfast? Quiche!

Anyway, so you now understand my abiding love of this French dish, but it was only recently that I tried making one (or rather two) for myself. Despite my ongoing love of French pastry, I have a healthy ongoing fear of it. It seems so delicate. Any one of a thousand things can go wrong with it. It also takes patience. Almost every pastry dough will require at least a few hours of fridge time. And, honestly, most of the time, I don't have the patience for it. Not when there's quiche on every corner now.

But, on a whim, and thanks to the Around My French Table cookbook, I decided it was time to try my hand at it. The quiche dough was, as predicted, tricky to figure out. I made two batches. The first came out beautifully. The second was a crumby mess. Even after some time in the fridge, it didn't resemble the moist yet delicate dough that I was hoping for. In a moment of panic, I decided to use cold tap water to get the crust to hold together. This was sacrilege, I know. But, to be fair, after I baked it, you couldn't tell the difference. And, to me, that's all that matters.

Getting off the subject of dough, I will also say that, while this recipe is delicious, go crazy with the blue cheese/gorgonzola. Greenspan calls for 2 ounces of the stuff. Bah! That's barely a hint of the stuff. I put in twice the amount and still thought it needed more blue cheese flavor. But, of course, use your own judgment on this one. 

Note: I've included the basic "Tart Dough" that Greenspan uses for her quiches below. It should work on most savory pastry dishes and the recipe makes enough dough for 1 9 - 9 1/2 inch tart shell. 

Gorgonzola-Apple Quiche

Ingredients
1 tbsp. unsalted butter
1 small onion, finely chopped
Salt and freshly ground white pepper
1 9 - 9 1/2 inch tart shell made from Tart Dough recipe (see below), partially baked and cooled
1 apple (tart-sweet works best, such as Empire or Gala), peeled, cored, and cut into small dice
2 ounces Gorgonzola dolce (I used 4 ounces or more. Go crazy with the cheese!)
2/3 cup heavy cream
2 large eggs

Method
Center a rach in the oven and preheat the oven to 400 degrees F. Line a baking sheet with a silicone baking mat or parchment paper.

Melt the butter in a small skillet over low heat and toss in with the onion. Season the onion lightly with salt and white pepper and cook until it is very soft but not at all colored, about 10 minutes. Remove from the heat.

Put the tart shell on the lined baking sheet. Spread the onion, wiht whatever buttern remains in the pan, evenly over the bottom of the crust. Scatter the apple over the onion. Cut the Gorgonzola into small cubes and scatter it over the onion and apple. Beat the cream and eggs together until well blended, season with salt and white pepper, and pour into the tart shell.

Gently slide the baking sheet into the over and bake for 30 to 40 minutes or until the filling is uniformly puffed (wait for the center to puff), browned, and set (mine took at least 45 minutes). Transfer the quiche to a cooling crack and allow it to cool and gather itself for 5 minutes or so.

Carefully remove the sides of the pan and slide the quiche onto a platter if you want to serve it hot, or onto a rack if you want to cool it. Serve hot, warm, or at room temperature.

Serving: You can keep the quiche lightly covered on the counter for a few hours if you're going to serve it at room temperature. If you want to keep it overnight, wrap it well and store it in the refrigerator. It's best to bring it to room temperature or t warm it briefly in a moderate oven before serving.

Tart Dough
Makes 1 9- 9 1/2-inch tart shell

Ingredients
1 1/4 cup all-purpose flour
1 tsp. sugar
1/2 tsp. salt
6 tbsp. (3/4 US stick) very cold (or frozen, see note) unsalted butter, cut into bits
1  large egg
1 tsp. ice water

Note on butter: A friend of mine gave me great advice when it comes to incorporating butter into dough. Instead of spending time cutting it into bits, put the butter in the freezer for a few hours and then use the grater on it. The butter will shave into nice small, manageable pieces that serve the exact same purpose as cutting it up by hand.

Method
To make the dough in a food processor: Put the flour, sugar, and salt in the processor and whir a few times to blend. Scatter the bits of butter over the flour and pulse several times, until the butter is coarsely mixed into the flour. Beat the egg with ice water and pout it into the bowl in 3 additions, whirring after each one (Don't overdo it- the dough shouldn't form a ball or ride on the blade). You'll have a moist malleable dough that will hold together when pinched. Turn the dough out onto a work surface, father it into a ball and flatten it into a disk.

To make the dough by hand: Put the flour, sugar, and salt in a large bowl. Drop in the bits of butter and, using your hands or a pastry blender, work the butter into the flour until it's evenly distributed. You'll have large and small butter bits, and that's fine; uniformity isn't a virtue here. Beat the egg and water together, drizzle over the dough and, using a fork, toss the dough until it is evenly moistened. Reach into the bowl and, using your fingertips, mix and knead the dough until it comes together. Turn it out onto a work surface, gather it into a ball and flatten into a disk.

Chill the dough for at least 3 hours (but it can be refrigerated up to 5 days).
When you're ready to make the tart shell, butter a 9 - 9 1/2 inch tart pan with a removeable bottom (butter it even if it is nonstick).

To roll out the dough:
Either between two sheets of wax paper or plastic wrap, or on a lightly floured surface, roll out the dough to 12 inches in diameter and about 1/4 inches thick.

Transfer dough to tart pan, easing it into the pan without stretching it. Press the dough against the bottom and up the sides of the pan. If you'd like to reinforce the sies of the crust, you can fold some of the excess dough over, so that you have a doubl thickness around the sides. Using the back of a table knife, trim the dough even with the top of the pan. Prick the base of the crust in several places with a fork.

Chill, or freeze, the dough for at least 1 hour before baking.

To partially bake the crust: Preheat an oven to 400 degrees F. Press a piece of buttered foil (or use nonstick foil) against the crust's surface. If you'd like, you can fill the covered crust with rice or dried beans (or special baking beads if you have them) to keep the dough flat, but this isn't really necessary if the crust is well chilled. Line a baking sheet with a silicone baking mat or parchment paper and put the tart pan on the sheet.

Bake the crust for 20 minutes in the center of the oven, then carefully remove the foil (with rice or beans). Return the crust to the oven and bake for another 3-5 minutes, or until it is lightly golden. Transfer the baking sheet to a cooling rack and allow the crust to cool before you fill it.

Key Lime Bars

My family has been on a quest since before I was born. Simply put: it is the search for the perfect key lime pie. Now, I have no idea how this started. It certainly isn't scientific; there's no spreadsheet anywhere of the various types we've tried or a grading scale of the pies. No, no. It exists more as a philosophical exercise. Think of it like the Platonic Form of the Key Lime Pie. We have a concept of what makes the perfect pie. But it will never exist in reality.

Right, now moving on from that digression into philosophy, I present the nearest approximation we have found to the perfect key lime pie. Well, take away the absolute necessity of the meringue (there are definite views on this in my household), but these have the exact right taste and texture that comprises absolute perfection in terms of key lime-iness. Add the toasted coconut on top. And, well, these don't last long.

They also get points in my book for having not a graham cracker crust (which is typical) but an animal cracker crust. Which my inner child finds vastly amusing. Now, I've never seen animal crackers (read: cookies) in Britain, so this may be yet another typically American food, but it is worth going on the hunt for them. Of course, any sugar cookies (sigh, sorry Britain, biscuits) will do. Hmmm, on second thought, perhaps ginger biscuits or digestives will also do nicely here. Anyway, the point is really in the key limes. And getting fresh ones. The magazine which featured this recipe (Eating Well, Fall 2003) had a whole subsection devoted to how necessary these were to the recipe. Not regular limes. Not even lime juice. But key limes. Well, honestly. If you can't find key limes (and this will inevitably happen), just use regular old limes. Key limes are notoriously difficult to juice and can be difficult to locate. Regular (as they call them, Persian) limes will work and give the bars a bit more of a tart flavor, but will still be delicious. Trust me.

Makes 16 2-inch bars

Ingredients

Crust
5 ounces animal crackers
3 tbsp. packed light or dark brown sugar (I used light)
Pinch table salt
4 tbsp. unsalted butter, melted and cooled slightly

Filling
2 ounces cream cheese, room temperature
2 tbsp. grated key lime zest (or more, I used at least 3 tbsp)
Pinch table salt
1 can (14 ounces) sweetened condensed milk
1 large egg yolk
1/2 cup key lime or regular lime juice

Garnish (optional)
3/4 cup shredded sweetened coconut, toasted until golden and crisp (I use the oven for this. Takes about 5 minutes at 375 degrees).

Method
Adjust oven rack to middle position and heat oven to 325 degrees. Cut about 12-inch length extra-wide heavy foil; fold cut edges back to form 7 1/2 inch width. With folded sides facing down, fit foil securely into bottom and up sides of 8-inch square baking pan, allowing excess to overhang pan sides. Spray foil with non-stick cooking spray.

To make the crust: In bowl of food processor, pulse animal crackers until broken down, about ten 1-second pulses; process crumbs until evenly fine, about 10 seconds (you should have about 1 1/4 cups crumbs). Add brown sugar and salt; process to combine, ten to twelve 1-second pulses (if large sugar lumps remain, break them apart with fingers). Drizzle butter over crumbs and pulse until crumbs are evenly moistened with butter, about ten 1-second pulses.

Press crumbs evenly and firmly into bottom of prepared pan. Bake until deep golden brown, about 18-20 minutes. Cool on wire rack while making filling. Do not turn off oven.

To make the filling: While crust cools, in medium bowl, stir cream cheese, zest, and salt with rubber spatula until softened, creamy, and thoroughly combined. Add sweetened condensed milk and whisk vigorously until incorporated and no lumps of cream cheese remain; whisk in egg yolk. Add lime juice and whisk gently until incorporated (mixture will thicken slightly).

To assemble and bake: Pour filling into crust; spread to corners and smooth surface with rubber spatular. Bake until set and edges begin to pull away slightly from sides, 15-20 minutes (mine took much longer, about 25-30 minutes). Cool on wire rack to room temperature, 1- 1 1/2 hours. Cover wil foil and refrigerate until thoroughly chilled, at least 2 hours.

Loosen edges with paring knife and lift bars from baking pan using foil extensions; cut bars into 16 squares. Sprinkle with toasted coconut, if using and serve.

Note: Leftovers can be refrigerated up to 2 days; crust wil soften slightly. Let bars stand at room temperature about 15 minutes before serving.

Sweet Potato Hash with Corned Beef and Bacon with Melted Onions

How to describe the oddity that is hash? It's not really a dish, per se, more of a conglomeration of various products. Most hash resembles something that you'd find on a standard American breakfast plate: potatoes, meat, and usually an egg or two. Onions are usually added to give the whole thing some flavor, but honestly, it's among the more basic items on any menu. My father even swears that at one point (and I have no proof of this except his word) they sold it out of a can. Now I'm not sure how that would be possible (although science usually has a way of finding ways round these kind of obstacles), but there you go. So basic, you can find it in a can.

Like the humble pie, hash apparently is experiencing a resurgence in popularity in restaurants across the US. Instead of your basic potatoes, bacon, and eggs, you can now find all sorts of upscale variations of this dish, depending on your taste. In the Mission District in San Francisco, I was able to try some tongue and potato hash which, I have to confess, was absolutely delicious. Thank you, Hog and Rocks. And yes, their specialties were pig and oysters. Anyone surprised?

Regardless, hash is easy enough for anyone to cook but allows for endless variations. This particular recipe (as usual, found in the New York Times) originally called for just bacon, but in my mind, corned beef should never be turned down as a possible meat alternative. And, thanks to the wonders of science yet again, they now have corned beef available pre-cooked. Just heat and serve! This was clearly a win. The sweet potatoes were also a great substitution. I used white sweet potatoes to add just a bit more starchiness rather than yam-iness (?) to the dish. And it was a good decision.

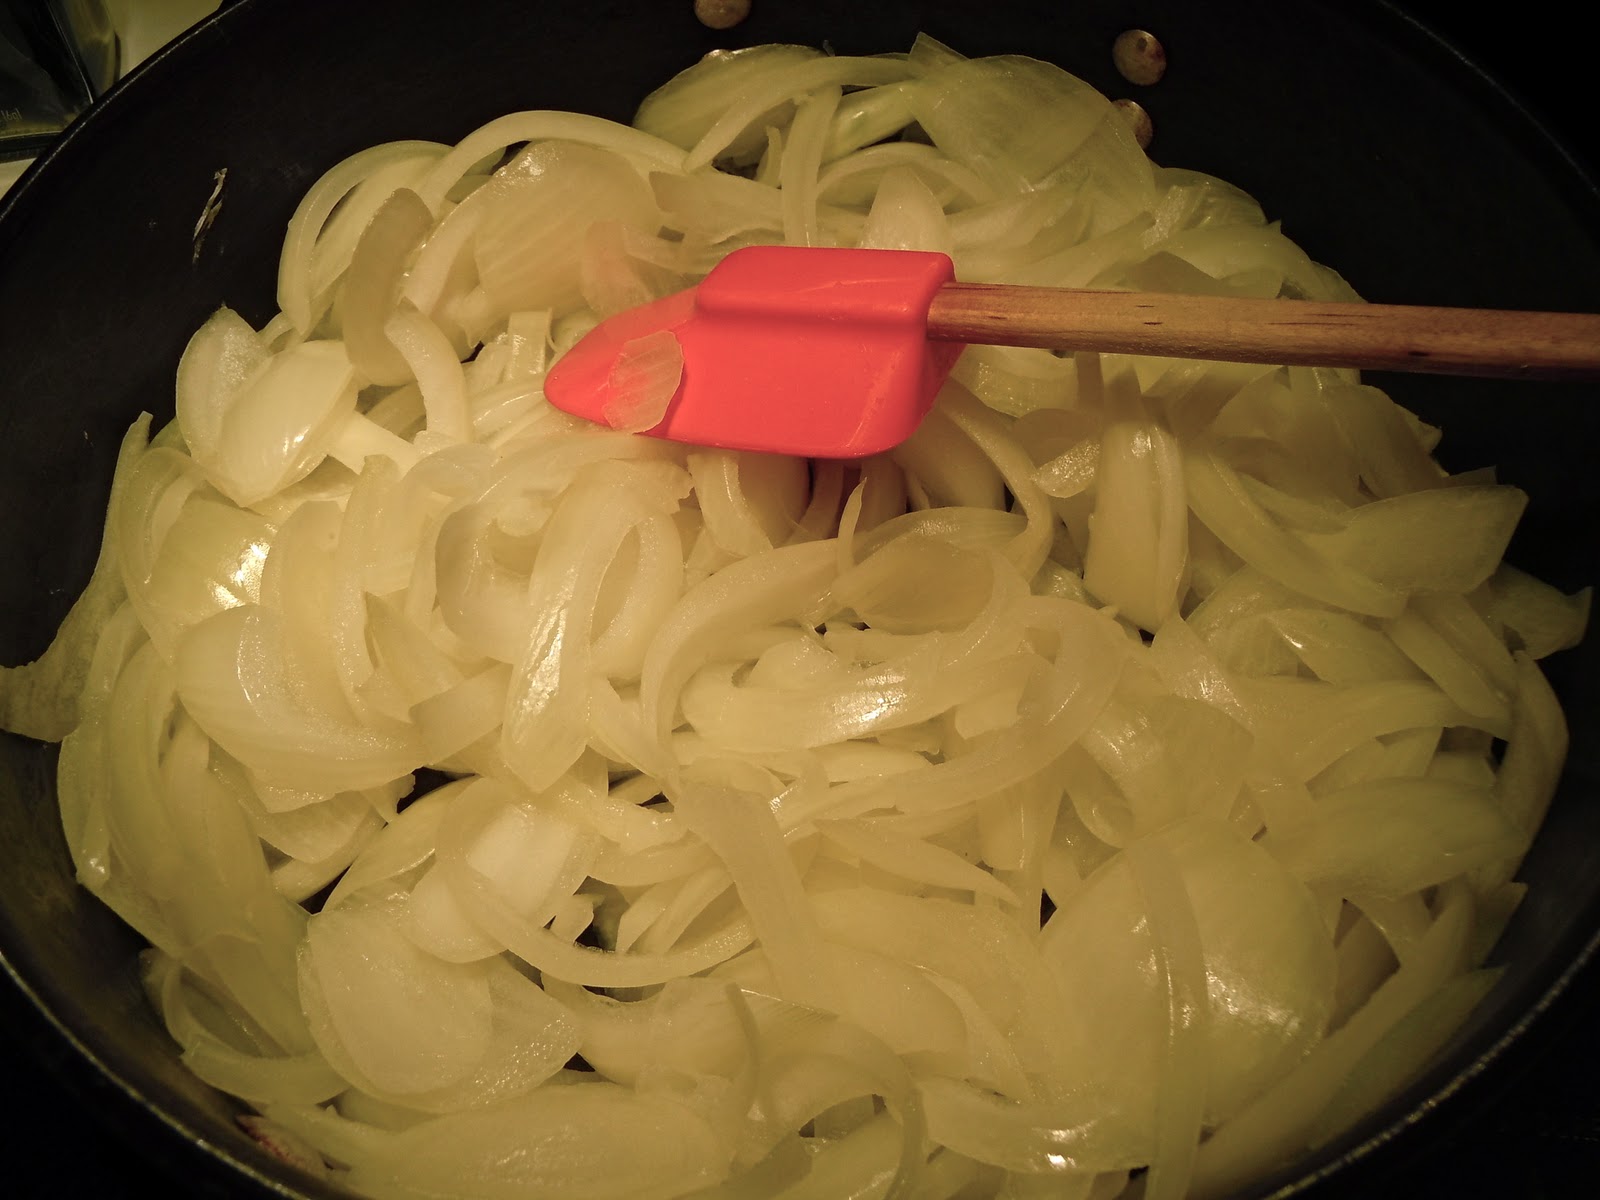
No matter how you eat your hash or serve this recipe, do NOT neglect the onions. Yes, they take a bit of time. But mostly they're sitting in a pot, soaking in their own juices. And with a stick of butter melting into them, they are deliciously bad for you. Try to say no to them. Just try.

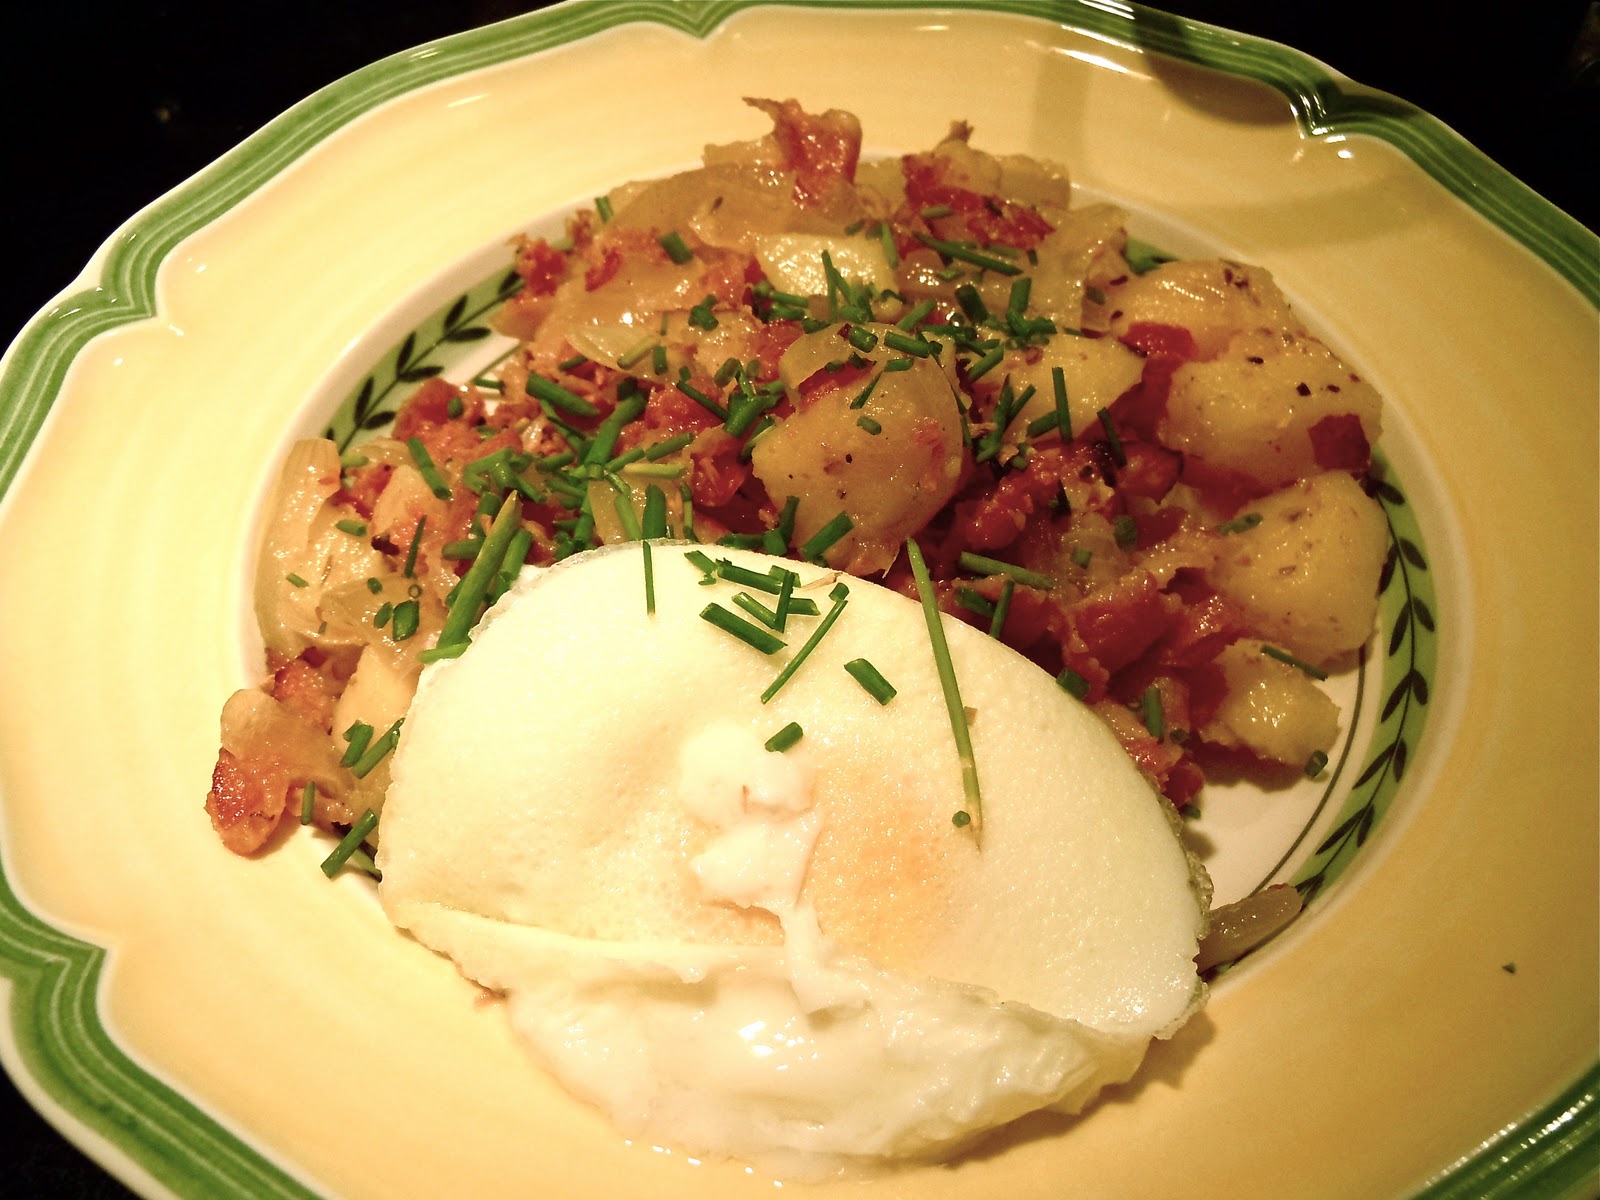
Now the bizarre white thing in the photo above is a poached egg. I know. It doesn't look right. I used one of those new-fangled "egg poaching cups" that swears it will make egg poaching the easiest thing ever. Well, it IS easier, but it doesn't make it any prettier. Your eggs come out looking rather like baked polenta. Well, at least according to my mother. But still soft and runny and delicious, so I still have to advocate the poacher if the old-school method is a bit daunting (as it is for me).

Ingredients

8 cups sliced onions (3 large ones)

Kosher salt

1 bay leaf

4 sprigs thyme

10 black peppercorns

1 garlic clove, smashed and peeled

1 stick unsalted butter, in 8 pieces

12 ounces corned beef

3 ounces best-quality bacon, sliced about 1/2-inch thick

3 pounds sweet potatoes, peeled, cooked (boiled, roasted or microwaved) and diced

1 tablespoon minced chives

Poached or sunny-side-up eggs, for serving (optional).

Method

Put onions in a large skillet, place over medium-low heat, and sprinkle with 1/4 teaspoon salt. Cook, uncovered, reducing the heat to maintain a low simmer, about 20 minutes, until onions are soft and swimming in liquid.

Tie the bay leaf, 3 sprigs thyme, peppercorns and garlic in a piece of cheesecloth (I just added them to the pot. Forget the cheesecloth). Add to onions along with butter, stir and cover (not too tightly, some steam should be allowed to escape). Cook slowly 30 to 35 minutes, until onions are meltingly tender and coated in butter. The mixture should look creamy at all times: if butter separates or if pan looks dry, stir in cold water 1 teaspoon at a time. Season to taste with salt. (Onions can be made up to 3 days in advance and refrigerated.)

Cut bacon crosswise into thick matchsticks. Pour 2 tablespoons water into a medium saucepan and set over medium heat. Add bacon, reduce heat to low, and cook for 30 minutes. Bacon will render its fat and become golden, but not completely crisp. Using a slotted spoon, transfer bacon to paper towels. Pour off excess fat from pan, leaving a thick film on bottom to cook hash; reserve the extra fat. Add the corned beef to the pan to warm it (you don't need to heat it for long).

Heat oven to 200 degrees. Spread half of potatoes in pan, sprinkle with salt and add half the leaves of the remaining sprig of thyme. Cook undisturbed, over medium-low heat, until crisp, about 5 minutes. Add 1/2 cup melted onions and a quarter of the bacon  and the corned beef, and gently fold together until heated through. Transfer to an ovenproof serving bowl and keep warm. Repeat with remaining potatoes, a quarter of the bacon and corned beef, another 1/2 cup onions (refrigerate leftover onions; they make a great sauce for fish) and remaining thyme leaves. Sprinkle hash with chives (if using) and remaining bacon and corned beef. Serve hot, topped with eggs if desired.

Yield: 6 to 8 servings.

Zucchini Soufflé

Deep breath, everyone. It's soufflé time. I have avoided making one of these ever since I learned that they were the bane of every chef. "Will the soufflé rise?" seems to be the fearful question of every person who has attempted this finicky egg-based dish.  But when Bittman swore he had found an (almost) foolproof recipe, I knew it was time to face the music and give it a go.

And, who could have guessed? An "easy" soufflé recipe that was actually easy! The soufflés rose as they should in the oven, were light and fluffy on the table, and amazingly delicious! Well, the delicious part isn't so hard to imagine. I mean, the recipe is basically eggs, butter, and cheese. What's not to like? This is even a good recipe for those people who are not big fans of zucchinis (Bittman also suggests using spinach in this recipe). Now, the other ingredients probably counteract any vitamin goodness the green vegetables would give you, but hey, at least it takes away some of the soufflé guilt, right?
Right.

Ingredients

1 tablespoon butter
1/4 cup olive oil
1 large onion, chopped
1 teaspoon minced garlic
2 to 3 medium zucchini, grated
Salt and freshly ground black pepper
6 eggs, separated
8 ounces Gruyère cheese, grated
1/4 cup parsley, chopped

Method

Butter four 1 1/2 -cup ramekins or one 6-cup soufflé dish. Heat the oven to 325 degrees. Put the oil in a large skillet over medium-high heat; when it’s hot, add the onion and garlic and cook until soft, 5 to 8 minutes. Add the zucchini, season with salt and pepper, and continue cooking, stirring occasionally, until very tender, another 10 to 12 minutes. If you prefer, substitute a 10-ounce bag of spinach, chopped and cooked the same way. Drain the vegetables if there is excess liquid, and let cool.

In a large bowl, beat the egg yolks and cheese with some salt and pepper. Add the vegetables and parsley and stir. In a clean, dry bowl, beat the egg whites until they are light and fluffy and just hold soft peaks; stir about a third of the whites into the yolk mixture to lighten it, then gently fold in the remaining whites, trying not to deflate them much.

Pour the soufflé mixture into the ramekins or dish. Bake until golden and puffy, 30 to 35 minutes, and serve immediately.

Yield: 4 servings.

Chocolate Earl Grey Truffles

And thus concludes the tripartite truffle adventure. Earl grey also seems to be a flavor popping up everywhere these days and I wanted to try my hand at getting the tea flavor into chocolate.

Well, that part turned out to be amazingly easy.  Just infuse cream with earl grey leaves and leave to steep for about 5 minutes (if you can make tea, you can make these). When combined with the chocolated, it gave it a wonderfully subtle earl grey flavor. Total thumbs up from me.
The only issue with this recipe is that it didn't call for the truffles to be coated with another layer of melted chocolate as the previous two truffle recipes. This left the truffles resembling fudge rather than truffles. Now, this was not a flavor problem in the least. But, it did make the process of eating the truffles a bit of a sticky mess. I eventually decided to go ahead and dip these chocolates in another layer of chocolate, leaving them with this nice hard shell, making them much easier to eat. Either way though, they are delicious! And oh so refined.

Ingredients

2/3 cup heavy cream
2 tablespoons unsalted butter, cut into 4 pieces and softened
2 teaspoons loose Earl Grey tea leaves
6 oz fine-quality bittersweet chocolate (not unsweetened), chopped + 12 oz for outer coating (optional)
1 cup unsweetened Dutch-process cocoa powder

Method

Bring cream and butter to a boil in a small heavy saucepan and stir in tea leaves. Remove from heat and let steep 5 minutes.

Meanwhile, finely grind chocolate in a food processor and transfer to a bowl. Pour cream through a fine-mesh sieve onto chocolate, pressing on and discarding tea leaves, then whisk until smooth. Chill ganache, covered, until firm, about 2 hours.

Spoon level teaspoons of ganache onto a baking sheet. Put cocoa in a bowl, then dust your palms lightly with it. Roll each piece of ganache into a ball (wash your hands and redust as they become sticky). Drop several balls at a time into bowl of cocoa and turn to coat. Transfer as coated to an airtight container, separating layers with wax paper.

Optional Extra External Chocolate Coat: 

Line 13x9x2-inch baking sheet with foil. Place remaining 12 ounces chocolate in medium metal bowl over saucepan of barely simmering water (do not allow bottom of bowl to touch water); stir until chocolate is melted and smooth and thermometer inserted into chocolate registers 115°F. Remove bowl from over water. Working quickly, submerge 1 truffle in melted chocolate. Using fork, lift out truffle and tap fork against side of bowl to allow excess coating to drip off. Transfer truffle to prepared sheet.

Truffles can be made 1 week ahead and chilled, or 1 month ahead and frozen in an airtight container.