Bacon-Topped Cornbread with Chiles and Cheese

I get hungry just by looking at the name of this dish. I mean, goodness, what isn't there to love? I feel this should be part of my ongoing series of why "Everything's better with bacon". Because it clearly is.

There's no denying cornbread is an American staple. Humble and easy to make, it goes with just about anything. Drizzle honey over it and make it sweet. Chop up some bacon (as we see above) and make it savory. It's hard to go wrong with cornbread.

But strangely, cornbread is still a foreign entity to most Brits. Baked in a skillet, there's something fantastically "frontier-y" about it. There are about 8 million recipes for cornbread online and debates as to how to make it properly can be fierce. While cornbread seems to span the length and breadth of America, you can be judged instantly on where you're from depending on how you make it. Now, I don't have a secret family recipe for it (clearly, as I'm posting this online) but this one, slightly modified from this version via epicurious is tasty as any I've had and fairly easy to make. Judging from the bacon added, I'm thinking this recipe must have Southern origins, but I like to think that I added a bit of southwestern flair to it. Hey, you have to represent local pride somehow. Anyway, I added chiles and Parmesan cheese to the mix, but as I said above, cornbread is forgiving enough to add pretty much anything to.

I also may have forgotten to stir the corn into the mix, accidentally making it a topping. I ended up liking the result, but by all means, stir into the batter before baking. 

Ingredients

6 thick-cut bacon slices

1 cup medium-grind cornmeal

1  cup all purpose flour

2 tablespoons golden brown sugar

1 tablespoon baking powder

1 teaspoon salt

1 1/3 cups whole milk

2 large eggs

2 tablespoons honey or agave syrup

2 tablespoons unsalted butter, melted

1 cup frozen corn kernels (unthawed)

Optional: 1 cup freshly grated Parmesan, 2 jalapeno chiles (sliced)

Method

Preheat oven to 350°F.

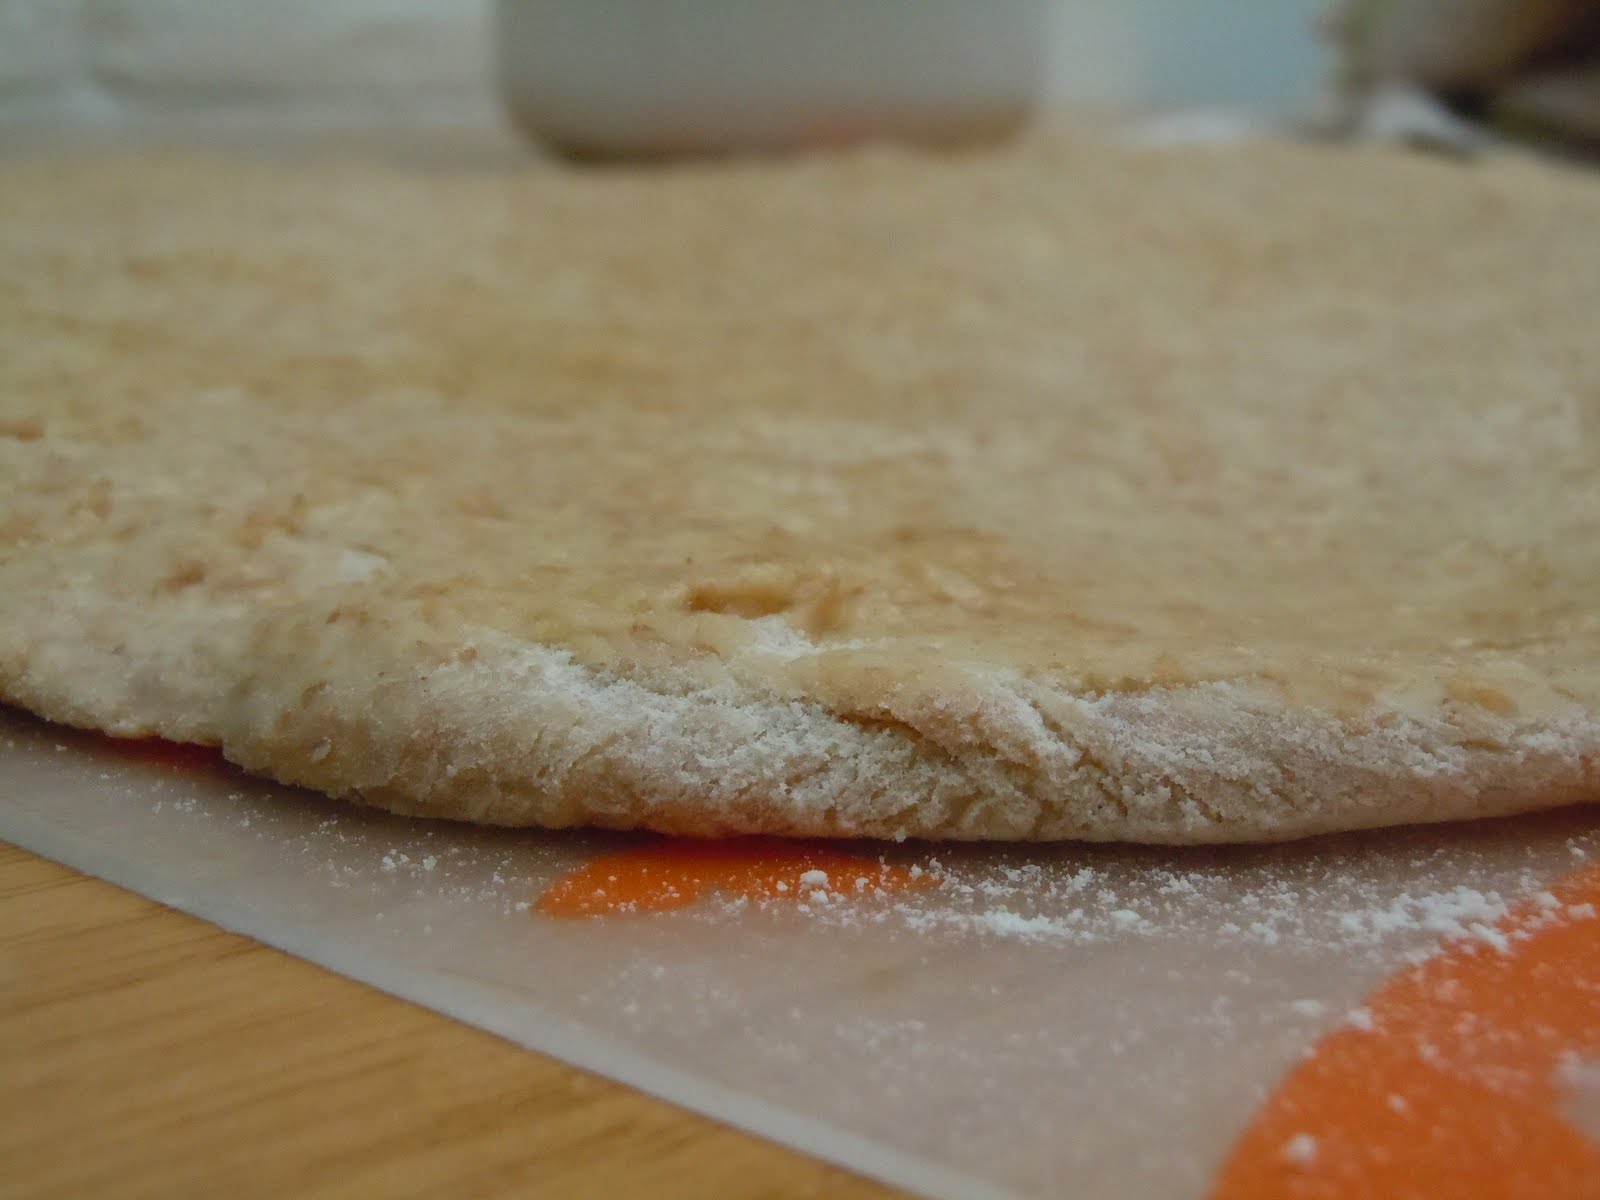
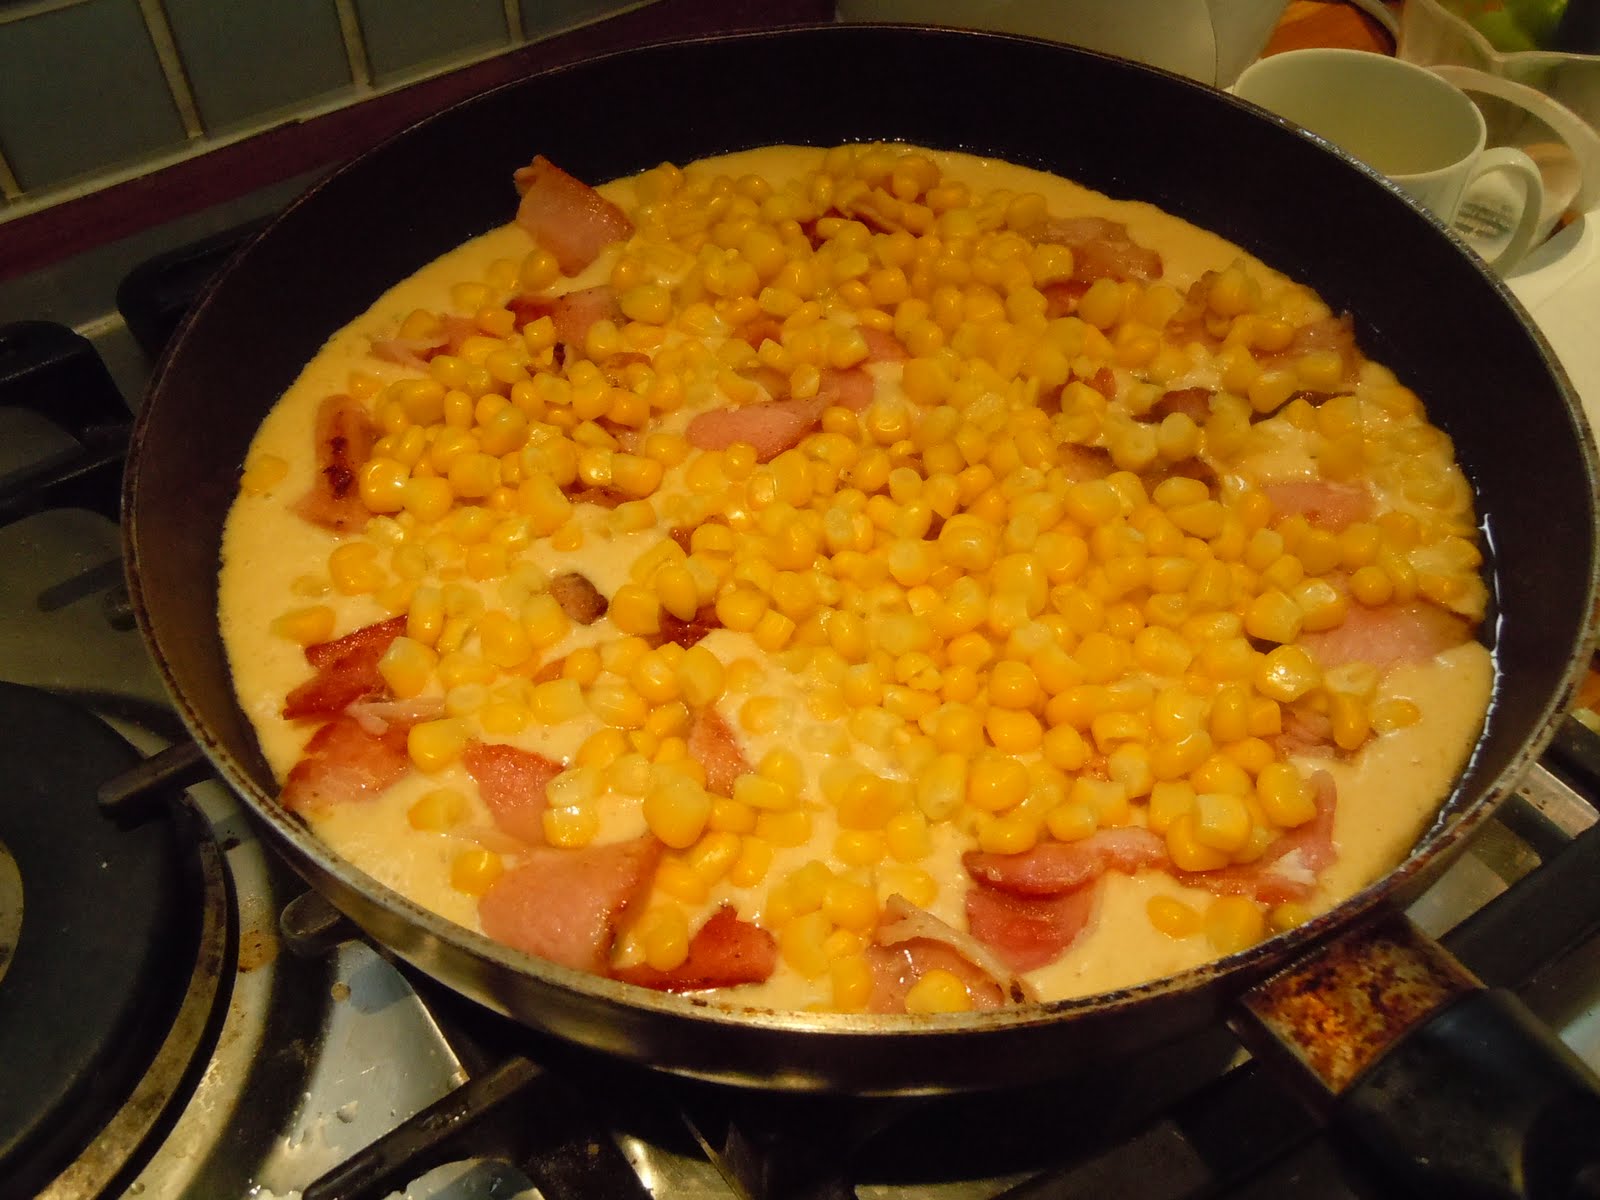
The batter prior to baking.

Cook bacon in large skillet over medium heat until crisp. Drain on paper towels. Reserve 2 tablespoons drippings from skillet.

Crumble bacon into small pieces.

Coat 12-inch diameter ovenproof skillet (I used the same as I fried the bacon in. It makes it an easy one-dish preparation) with bacon drippings.

Whisk cornmeal and next 4 ingredients in large bowl. Whisk milk, eggs, honey, and butter in medium bowl. Stir milk mixture into dry ingredients.

Mix in corn (or reserve to place on top), cheese, and chiles. 

Place prepared skillet in oven until very hot, about 10 minutes. Pour batter into skillet.

Sprinkle bacon (and corn, if using) over.

Bake cornbread until golden and tester inserted into center comes out clean, about 40 minutes.

Cool in skillet at least 30 minutes.

Pan-Toasted Sweet Corn with Wilted Kale and Black Beans

I have no idea why this recipe is so tasty. No clue. I actually debated about making it, after looking at its ingredients. I thought, "Sure, it's healthy, but will it taste like anything?"

Oh. But it does.

Strangely enough, my mother used to make a version of this (based on a Rick Bayless recipe, may the Mexican gods forever shine upon him) with Mexican chorizo and my family used to gulp it down in buckets. No corn in that one, but the essential beans and kale stewed in a broth were the same. I had completely forgotten about the recipe (as Mexican chorizo is impossible to get here), but I recently made the discovery of the Whole Foods recipe section on its website, and it looked, well, like a good healthy side dish. But such a delicious one? Never in my dreams.

Seriously. You won't believe me until you make this. Make it. Try it. It's wonderful.

Serves 6

Ingredients 

Mmmm. Corn.

Kernels from 2 ears sweet corn (about 1 1/2 cups)

1 bag kale or swiss chard (if using chard, cut into medium pieces, separating the stems from the leaves)

1/3 cup low-sodium chicken or vegetable broth, plus more as needed

4 garlic cloves, sliced

1/4 teaspoon crushed red chile pepper

1 (15-ounce) can no-salt-added black beans, rinsed and drained

1 tablespoon sherry vinegar

1/4 cup raw green pumpkin seeds (pepitas)

1 green chile, sliced

Optional: Diced Spanish chorizo (1/2 cup's worth), Pasilla and/or Adobo Chiles

Method

Heat a large heavy skillet over medium-high heat until very hot. Add corn kernels and cook, shaking the pan and stirring, until the kernels brown, about 5 minutes. Remove corn from the skillet and set aside.

Rinse the pan to remove any browned corn from the bottom. Return the skillet to medium heat and add broth, garlic and pepper flakes. Add chard stems (if using) and simmer until just tender, about 2 minutes. Add chard leaves (or kale) and stir until they begin to wilt and all fit in the skillet. Cover and cook until the kale/chard is very tender, about 5 minutes; add more broth a tablespoon at a time if it gets dry. Uncover the skillet and stir in beans, chorizo, chiles, vinegar and pumpkin seeds. Cook for 2 more minutes. Transfer the kale/chard mixture to a platter and sprinkle with the toasted corn.

Nutrition

Per serving: 150 calories (40 from fat), 4.5g total fat, 0g saturated fat, 0mg cholesterol, 140mg sodium, 22g total carbohydrate (6g dietary fiber, 2g sugar), 8g protein

Whole Wheat Breadsticks

I can't help it. I love bread. I mean, I really love it. Save your pastry. Save your cakes. Give me a fresh-baked loaf of good ol' white bread any day and I'll be as happy as a clam. Of course,  in this Atkins "evils of carbohydrates" world in which we now live, my obsession is a sinful one. And while I usually take such doom and gloom of yeast and flour with a pinch of salt (ok, more than a pinch), I do find it hard to get up the gumption to make bread for myself very often.

Why?

Because it takes forever.

Literally. Forever.

In my perfect world, I would own a bread machine, crank it up at night, fall asleep, and awake to my very own loaf of bread, baked for me by the little elves of machinery.
Alas. This is not currently the case.

So when its raining cats and dogs outside and I find myself with very little else to do (or rather little else I want to be doing, such are the joys of procrastination), bread-making seems a good activity.

And, taking that into consideration with the above nutritional scare tactics about the evils of white bread, I took the latest NY Times "Recipes for Health" column and decided to try the joys (?) of whole wheat breadsticks.

To be honest, aside from the kneading (which I hate and loathe with the passion of a thousand suns), these were surprisingly easy to make. If you make sure you put the dough in the right area to rise (which, in my case, is a turned off oven with a bowl of hot water underneath it), then you're sure to have delicious breadsticks within a few hours. And on the time scale of bread-making, that's positively instant.

Ingredients

2 teaspoons active dry yeast

1 1/2 cup lukewarm water

1 teaspoon honey

1/4 cup extra virgin olive oil

2 cups whole-wheat flour

About 1 1/3 cups unbleached all-purpose flour

1 1/2 teaspoons salt

The rolled-out dough, just before being left to rise.

Method
Dissolve the yeast in the water in a large bowl or in the bowl of a stand mixer. Stir in the honey. Let stand for five minutes. Stir in the olive oil.

Combine the whole-wheat flour, the unbleached all-purpose flour, and the salt. Add to the liquid mixture. If kneading by hand, stir until you can turn the dough out onto a lightly floured surface; knead for 10 minutes, adding flour as necessary to keep the dough from sticking to your hands and worktop (I needed to add probably another cup of flour for this bit. Be liberal).

If using an electric mixer, mix at medium speed for 8 to 10 minutes. Add flour as necessary so that the dough comes away from the sides of the bowl. The dough should be elastic and just slightly sticky.

The dough, just before baking

 Lightly flour your work surface or brush with olive oil. Using your hands or a rolling pin, roll the dough into a 14-by4-inch rectangle. Make sure there is enough flour or oil underneath the dough that it doesn’t stick to the work surface. Brush the top with oil. Cover with plastic wrap, then with a damp kitchen towel. Allow to rise for 1 to 1 1/2 hours until nearly doubled. (Being England, I had no good place to let the dough rise. If you share my fate, turn on the oven on its lowest heat setting for a few minutes, then turn it off. Put a bowl of just boiled water on the bottom of the oven and then the dough above that. This will give a good damp atmosphere that should encourage your dough to rise.) 

Preheat the oven to 400 degrees with the racks positioned in the middle and upper thirds. Brush sheet pans with olive oil. Cut the dough crosswise into four equal pieces. One at a time, cut each piece crosswise into six equal pieces. Roll each piece between the board and your hands, as if you were making it into a rope, until it is as long as the baking sheet. For a tighter strip, twist the strands from one end to the other. Place 1 inch apart on the baking sheets until you’ve filled two baking sheets. Continue to shape the remaining breadsticks while the first batch is baking.

Place in the oven, and bake 15 minutes. Switch the pans top to bottom and front to back, and bake another 10 minutes until the breadsticks are nicely browned (they will be darker on the bottom). Remove from the heat, and cool on a rack. Shape and bake any remaining dough as instructed.

Maple-Oatmeal Fruit Crisp

I have no idea what the difference is between a crumble and a crisp. To me, they both involve fruit and a delicious crunchy topping, usually made out of oats, sugar, and butter.

Knowing bakers, there's probably some precise distinction between the two (you melt the butter before you add the oats in a crisp, or some such thing), but, I can't be bothered to find out what it is.

That being said, whether they are crisps or crumbles, they are delicious. And perfect for summer. And the perfect way to make a lazy dessert. Cut up fruit. Add flour, oats, sugar, and butter. Bake. See? Nothing to it. And because you can add whatever fruit is in season at the time, you get to come up with your own endless varieties of the dessert. Because I focus less on the measuring and more on getting the thing baking, I've never made the same crumble twice. But that's not to say they weren't all delicious.

Now that I've insisted on the unnecessary element of measuring in a crumble/crisp, I present the following very measure-based recipe, straight from the annals of NPR and their kitchen window series. While I'm usually an "organic" crumble-maker (measurements are for wusses), I wanted to try their very complex version, to see if there was a way to improve on the glories of easy crumble making.

And when I say complex, I mean it took me 7 minutes instead of 5 to make. But still. Coconut? Walnuts? Cranberries? Maple syrup?! NPR, calm thyself. There's no reason to get so darn complicated. But, the recipe was delicious. So if you're feeling like you need a little extra complication in your baking life, this crumble is for you. If I'm ever pressed to serve crumble at a dinner party (and why wouldn't you?), this might be a good bet to show off the dressed-up nature of the dessert. Otherwise, for an easy dessert, I might go back to my basics: oats, flour, sugar. Or, if I'm honest, the ready-made crumble topping at Tesco (shhhhh, don't tell anyone). ;)

Makes 6-8 servings

Ingredients

Topping

1/4 cup whole-wheat flour

3/4 cup rolled oats (or more)

1/4 cup sugar

4 tablespoons butter

3 tablespoons maple syrup

Filling

3 peaches or other stone fruit, pitted and chopped

1 cup blueberries, raspberries or blackberries, or a combination

1/4 cup dried cranberries

4 tablespoons chopped walnuts or almonds

1/4 cup unsweetened flaked coconut

1/2 teaspoon ground cinnamon

1/2 teaspoon ground ginger

1 tablespoon flour

5 tablespoons maple syrup

Method
Preheat oven to 350 degrees.

Mix the flour, oats and sugar together. Cut in the butter, working the mixture until it resembles coarse meal. Drizzle in a bit of maple syrup, adding more if the mixture is very dry.

In a large bowl, mix the fruit, nuts, coconut, cinnamon, ginger and flour together and stir well to combine. Drizzle with maple syrup to taste (if the fruit is not too sweet, add a little more).

Spread the fruit in an 8-inch square baking dish and cover with the topping. If the topping doesn't cover all the fruit, sprinkle more oats on top. Be liberal.)

Bake for 30 to 40 minutes, until fruit is bubbling and topping is crisp.

Fried Okra

I do not hail from a part of the country where okra is a staple. No, no. I'm from the other side. The anti-okra side. The confused okra side. The side that sees the weird foreign slimy vegetable and think: "Really?" 
But my anti-okra statement was predicated on nothing if not so much as a misunderstanding of southern cuisine. If you see an ingredient that you don't like, bread it and fry it. Which 100% of the time = crazy delicious.

And so it is with okra. And as it was available at copious cheap amounts at my local farmers market, I decided to test my southern style by "frying up a batch".
And it can't be simpler. Slice okra. Add cornmeal and flour. Maybe some spices. Fry. 
But I don't trust my okra knowledge, not yet. And so I drew inspiration from a self-proclaimed southerner. 
And so I set myself the task of frying up the most questionably authentic okra I've ever attempted. And it was delicious. So delicious. It won't win any awards for nutrition, but damn, I want to make this every day. 

Ingredients

-A fair amount of okra (I would say about 3 handfuls was enough for 2-3)

-A splash of milk or cream (I used cream, but honestly, you could even omit this)

-1/4 cup self-raising flour

-1/4 cup cornmeal (yellow or white, I use yellow)

-1 tsp paprika

-1 1/2 tsp cayenne pepper

-1 tsp achiote (if you have it, really any spice works)

-salt and pepper to taste

-Vegetable oil 

Method

Mix your breading. Combine flour, cornmeal, and spices and season with salt and pepper.

Wash and slice your okra into small rounds, no more than a half an inch thick. Place slices in a large bowl.

At this point, heat the oil in your pan. You want to have enough oil so that it just barely covers the bottom of the pan (if you add too much, you may end up with soggy okra which would be a tragedy).

If using the milk/cream, add it now to the okra. Remember, just a splash! Mix the okra and cream well.

Now add the breading to the okra, again stir to combine and make sure each piece is coated.

Test the oil in your pan to see if it's ready. Throw a piece of okra in and if small bubbles emerge around it, you're good to go. You don't want to see a crazy rush of bubbles, otherwise your pan is too hot.

It may not look beautiful, but, trust me, it's delicious.

Add the okra in a single layer to the pan and leave it alone. Really. Don't indulge the inclining to stir. Let it fry. (Otherwise, you'll lose the breading.)

After a few minutes, about 2-3, see if the bottom of the okra is turning golden-brown. If so, you are now ready to flip. Turn the okra over with a spatula and now let the other side fry up nicely.

When both sides are nicely golden brown, take it out of the oil and leave it to drain on paper towels. Serve hot and enjoy.