Fried Chickpeas with Chorizo and Kale

This is the best kind of "weeknight dinner" recipe. It's fast, simple, and perhaps the tastiest thing in the world. It also is phenomenal because it also technically could count as a "one pot" dish. Although I'm not sure Bittman would classify it as a main course, I've always thought of it as one. Basically because it's so delicious I never want anything else.

Although Bittman technically calls for spinach with this recipe, I prefer kale. It's texture is a bit richer and it fries up wonderfully under the broiler, giving it the perfect toasted crispness to go with the chorizo and chickpeas.

Also, for this recipe, the use of Spanish chorizo is a must. Any other sausage doesn't have the rich pepperiness of the Spanish variety and the simplicity of the dish requires a bit more of a kick from the meat. If you want to up the tastiness/smokiness factor even more, I recommend adding even more paprika (and perhaps even some cayenne) to the chickpeas as they're frying in the oil. It boosts the flavor wonderfully.

Paprika-ed chickpeas

Ingredients

1/4 cup olive oil, plus more for drizzling

2 cups cooked or canned chickpeas, as dry as possible

2 tsp. paprika

Salt and black pepper

4 ounces chorizo, diced

1/2 pound spinach, kale, or chard roughly chopped (I prefer kale)

1/4 cup sherry

1 to 2 cups bread crumbs

Method
Heat the broiler or grill.

Put three tablespoons of the oil in a skillet large enough to hold chickpeas in one layer over medium-high heat. When it’s hot, add chickpeas and sprinkle with salt and pepper and the paprika.

Reduce heat to medium-low and cook, shaking the pan occasionally, until chickpeas begin to brown, about 10 minutes, then add chorizo. Continue cooking for another 5 to 8 minutes or until chickpeas are crisp; use a slotted spoon to remove chickpeas and chorizo from pan and set aside.

Add the remainder of the 1/4 cup of oil to the pan; when it’s hot, add spinach and sherry, sprinkle with salt and pepper, and cook spinach over medium-low heat until very soft and the liquid has evaporated. Add chickpeas and chorizo back to the pan and toss quickly to combine; top with bread crumbs, drizzle with a bit more oil and run pan under the broiler to lightly brown the top.

Serve hot or at room temperature.

Yield: 4 servings.

Thai Mushroom Soup baked in a Pumpkin + Toasted Pumpkin Seeds

Behold, the mighty pumpkin. Well, surprisingly, not that mighty in the land of the Brits. Despite the hordes of pumpkins and pumpkin-flavored items in the US, alas, the UK (as I have waxed lyrically about previously) seems to shirk the glories of this gourd.

Although pumpkin soup is not completely unknown on this side of the Atlantic, versions seem to promote the standard "peel, cube, and cook" varieties. Now, I don't know if you've ever tried to peel a pumpkin, but there are few less rewarding tasks in this world. And a task guaranteed to either cause significant harm to you and/or your pumpkin, probably leaving you with little desire to carry on in the soup-making task.

Which is why *this* version of pumpkin soup is so glorious. No peeling required! Just the standard jack-o-lantern trick of cutting a lid on the top and scooping out the glorious pumpkin seeds (to be toasted later). Baking the entire pumpkin also makes a great display for the table (Martha Stewart eat your heart out) and you also get to live dangerously: Will the pumpkin collapse in the oven? Won't it? Yes, the soup takes a bit of patience, but the combination of Thai and autumnal flavors in this thing are completely worth it. Originally this soup (in a much simpler yet absolutely still delicious form) was found via River Cottage and basically involves cooking a bunch of cream and cheese in a hollowed pumpkin. My version makes the concoction a bit more soup-like with some complex Asian flavors and some mushrooms thrown in for earthiness. It's a soup that's a bit time-consuming but wonderful on those cold autumn nights.

Serve 4-6

Ingredients
One large pumpkin
1 can coconut milk
1 1/2 cups dried porcini mushrooms (rehydrated in boiling water and left to soak for up to 30 minutes, but SAVE the water which you rehydrated them in!!! If you don't want to use this, 2 1/2 cups chicken broth)
1 cup chestnut mushrooms, sliced
2 green or red finger chilies, diced
1 onion
2 cloves garlic
8 oz. gruyere cheese, grated
1/2 cup single cream
4 slices bacon (or bacon lardons), cooked and drained of fat
2 tbsp. Olive oil
3/4 tsp white pepper
Salt and black pepper to taste
Cilantro/Green onions (optional)

Method

Preheat the oven to 375ºF/191ºC.

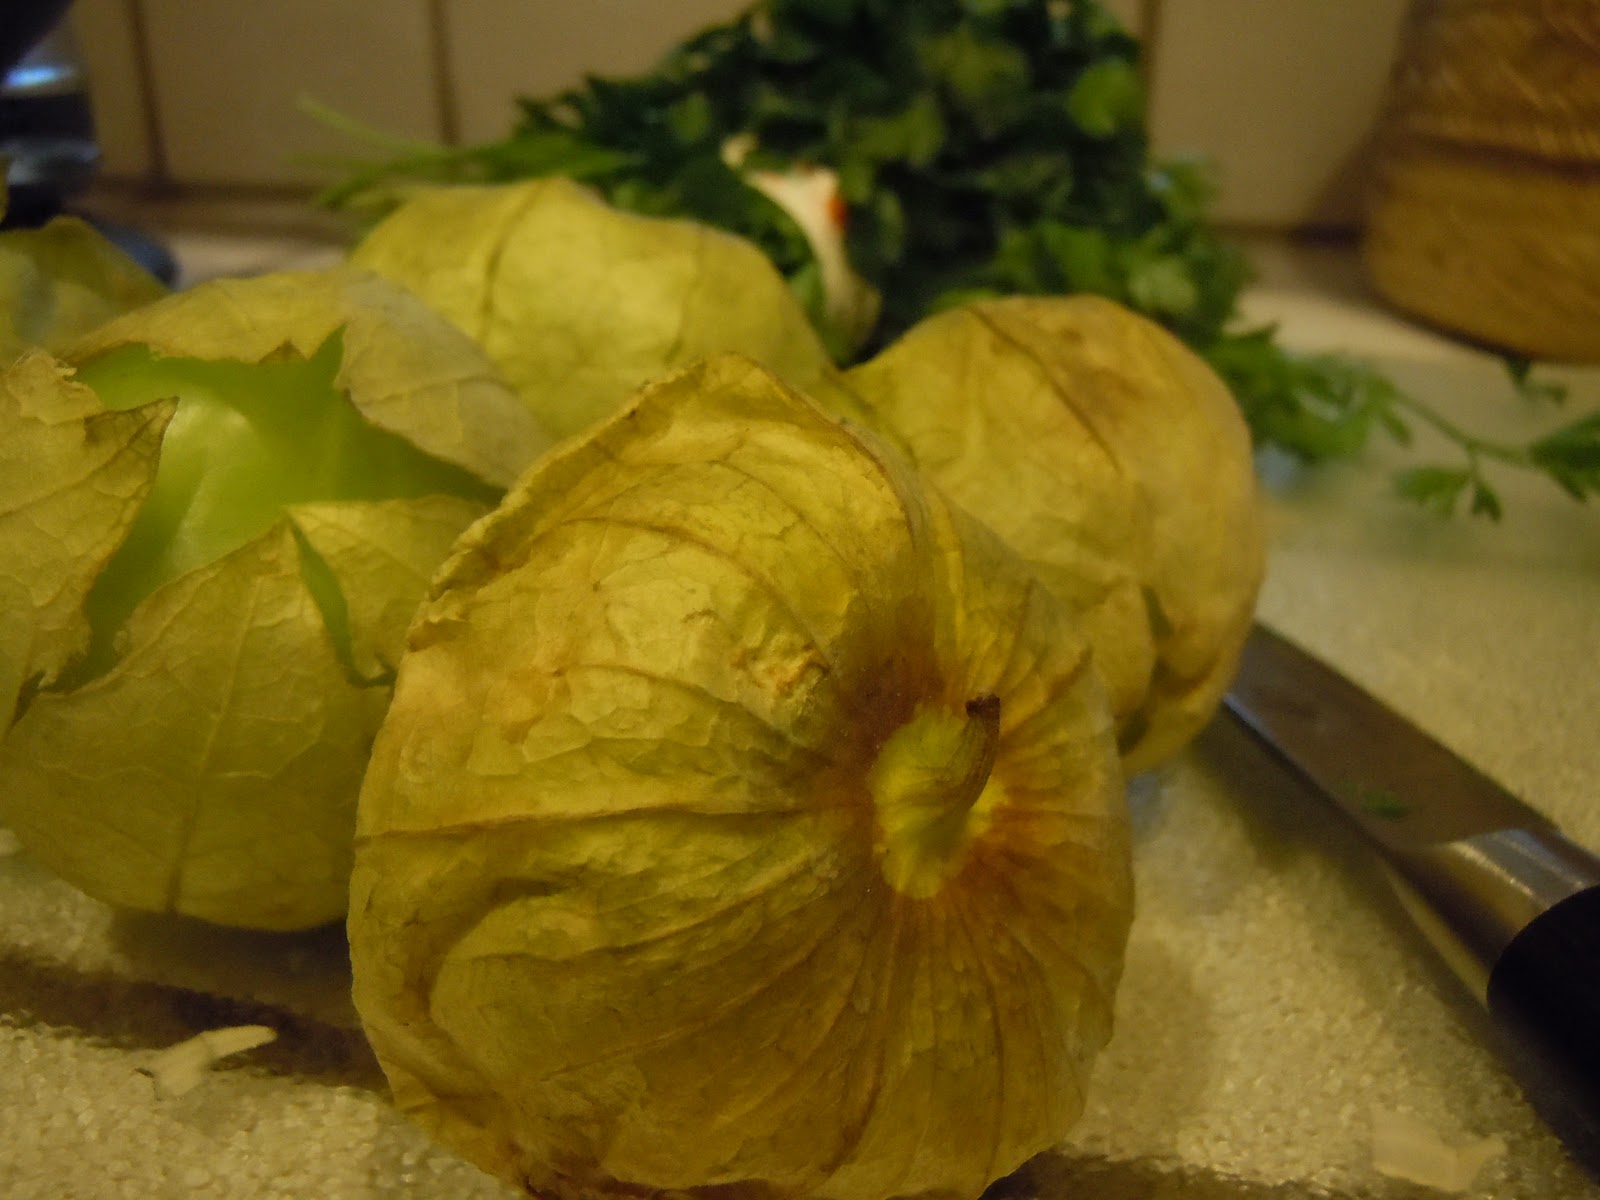
Using a narrow pointed knife, slice around the stem of the pumpkin at a 45-degree angle. Scoop out pulp and seeds (but don't forget to keep the seeds for toasting!). Place the emptied pumpkin on a large baking tray that has been covered with aluminum foil.

Fill the pumpkin with half of the grated Gruyère cheese.
Meanwhile, heat a deep saucepan on med-high and add the olive oil. When hot, add the onion and garlic and saute for approximately 3-5 minutes. Add the rehydrated porcini mushrooms, chestnut mushrooms, and chilies. Cook for another 3-5 minutes, or until the mushrooms go soft and start to sweat. Add the bacon and cook for another 30 seconds to a minute. 
At this point, add the porcini mushroom water or chicken broth along with the coconut milk. Stir. Add in gently, while stirring, the 1/2 cup of single cream and cook for another 2-3 minutes. Season to taste with salt as well as the black and white pepper. 
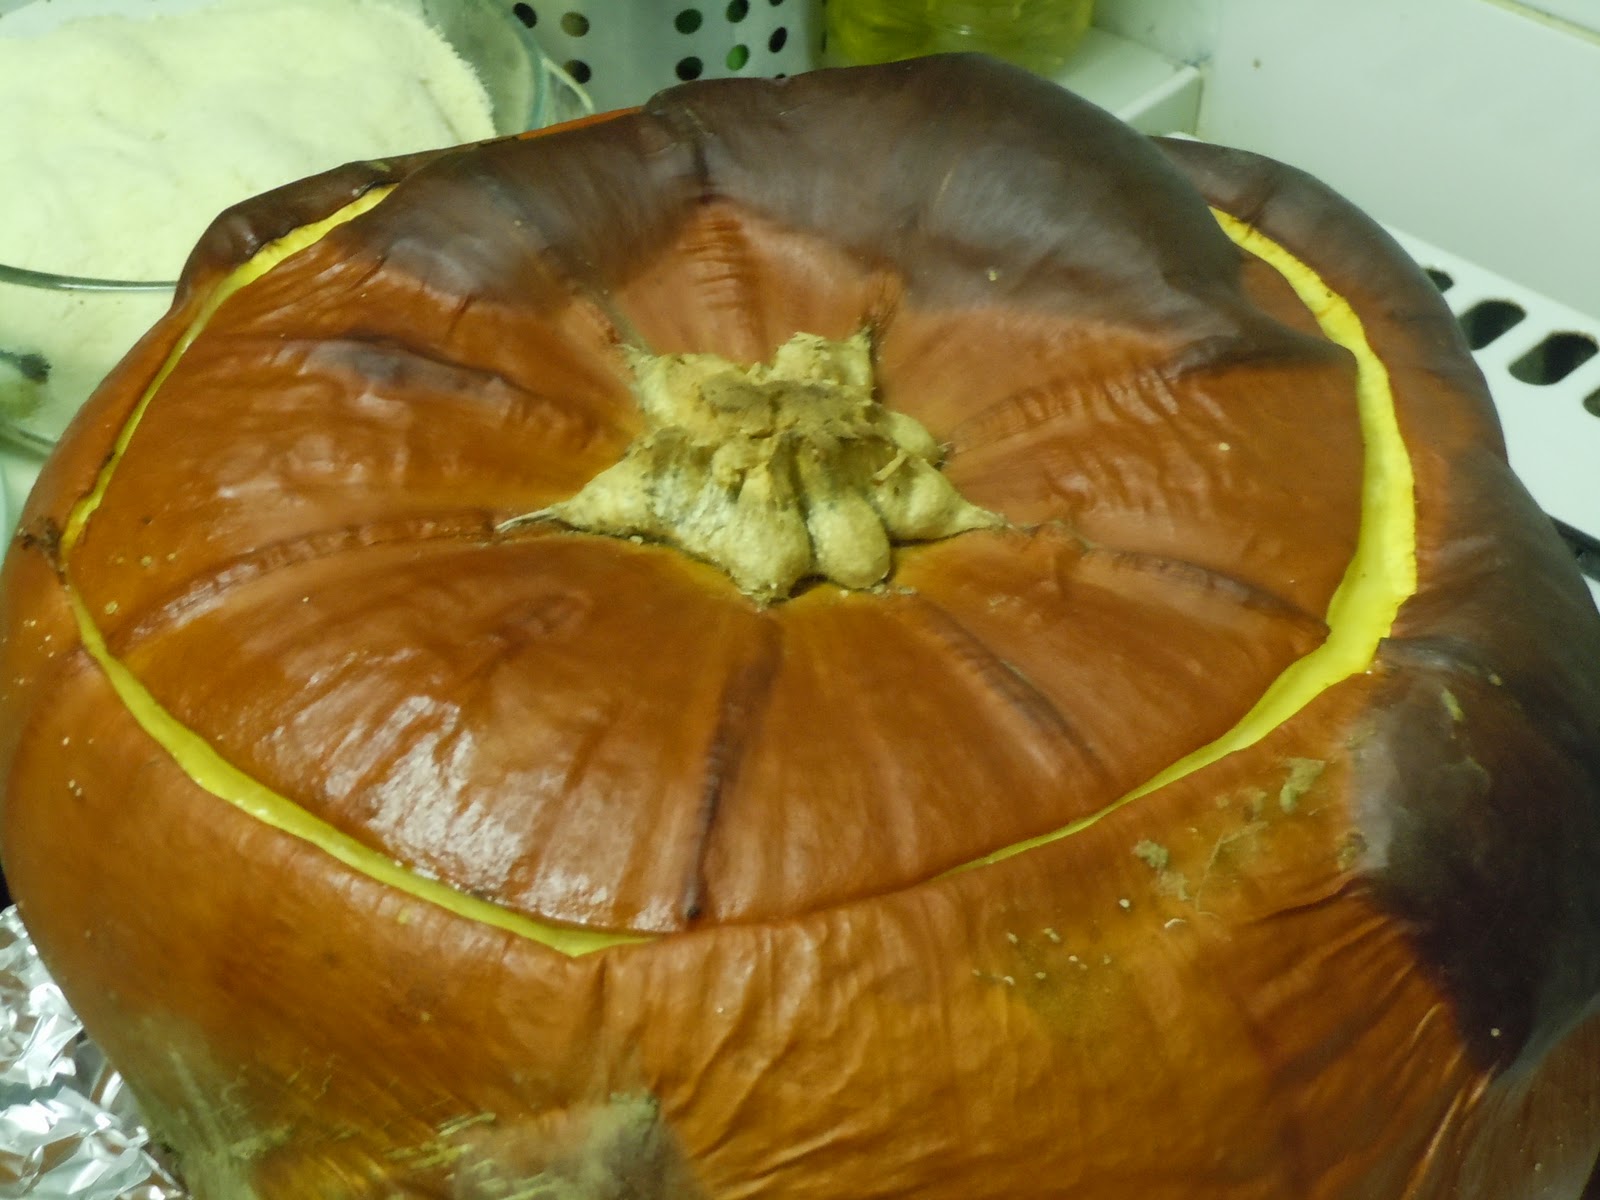
A perfectly "done" pumpkin
Pour the mushroom soup mixture into the cavity of the pumpkin, on top of the gruyere cheese. Sprinkle the rest of the gruyere cheese on top of the soup mixture. Season again with salt and black pepper. 
Replace the lid of the pumpkin and place the entire thing in the oven to be roasted slowly. Depending on the size of your pumpkin, this may range anywhere from 1 to 2 1/2 hours. The key to cooking the pumpkin is to keep a wary eye on its structural integrity. Once the skin on the outside of the pumpkin starts to sag, be warned! There is a fine line between the glories of a cooked pumpkin and a heap of mush inside your oven. If in doubt, remove the pumpkin from the oven, remove the lid, and check for the done-ness of the inside flesh (should be fairly soft). 
When serving, make sure to scrape the inside of the pumpkin so that each bowl gets a good portion of the flesh and cheesy goodness (which by now has melted into the pumpkin itself) alongside the soup. Serve with cilantro and/or sliced green onions on top as garnish. 

Toasted Spiced Pumpkin Seeds
A fall classic and a great snack and/or soup topper!!
Ingredients
Seeds from one pumpkin (washed and dried)
Olive oil
Salt/Black Pepper
1/4 tsp cayenne pepper
1/4 tsp cinnamon
1/4 tsp achiote (or other chile powder)
1/4 tsp cumin

Method
Preheat the oven to 375 degrees F.

After removing the seeds from the pumpkin, rinse with water, and remove any strings and bits of squash. Pat dry, and place in a small bowl. 
Add the cayenne, cinnamon, achiote, and cumin to the bowl and stir to coat.

Scatter the seeds on a sheet pan in a single layer and drizzle with olive oil. Sprinkle with salt and pepper and toss to coat. Bake for 7 minutes and stir. Bake for another 7 minutes (or until seeds start to look dry and crispy). 

Spiced Brown Sugar Carrot Bread

Well, I've finally done it. I gave in to the power of the veg box. No longer will I trawl the aisles searching desperately for fresh swede, tomatoes, or spinach. No, no. Every Tuesday, like clockwork, a very nice man deposits a very large box of farm-fresh vegetables outside my doorstep. Alongside any other little niceties I've decided to order from them that week. Which has recently included squash, bread, and even a pumpkin for Halloween. Just to make my veg box people (Abel & Cole) extra-loveable, they have a habit of including free things each week with their delivery. This week was milk. Bless them.

But with the powers of the veg box come great responsibilities. The household now has more fresh nutritious vegetables than it often knows what to do with. We have heaps of onions. Bags of potatoes. Gallons of spinach. And acres upon acres of carrots. This has produced more than a few glorious stir fries, but you can only use so many carrots in one stir fry before things start to go...a bit orange.

So what better way to use up all the bounty of the earth than to make quick breads? Carrots are particularly fabulous for this purpose, and considering that we're moving into the winter season, they are wonderfully warming. Despite the fabulous successes of previous carrot bread recipes, I went out on a lark and took the first one I could find from the Internet. I was particularly struck by the use of cardamom in the recipe. So, why not? Come on Food & Wine, show me what you got.

And, oh yes, that worked quite nicely. The crispy brown layer of sugar on the top makes this bread particularly more-ish, and the inclusion of cardamom is a nice subtle layer that doesn't override the other traditional flavors of vanilla and cinnamon. I do however highly recommend making sure you have greased your pan adequately. Despite loving attention to detail, my bread refused to unstick from its loaf tin moorings, resulting in far more crumbs and bite-size pieces than standard "slices". Ah well, still tastes great.

Makes: 1 loaf

Ingredients

1 1/2 cups unbleached all-purpose flour
1 teaspoons cinnamon
1 1/4 teaspoons baking powder
1 1/4 teaspoons baking soda
1/2 teaspoon crushed cardamom seeds
1/4 teaspoon salt
2 large eggs
1 cups packed light brown sugar
1/4 cup granulated sugar
1/2 cup canola oil
1/2 teaspoon pure vanilla extract
Grated zest of 1/2 lemon
1 1/4 cups shredded carrots (about 7 ounces)

Method:

  1. Preheat the oven to 350°. Coat 1 8-by-4-inch loaf pan with cooking spray or grease and lightly flour the pan.
  2. In a medium bowl, combine the flour, cinnamon, baking powder, baking soda, cardamom and salt.
  3. In a large bowl, beat the eggs with the light brown sugar and granulated sugar until smooth. Add the oil in a thin stream, beating at high speed until the batter has doubled in volume, about 2 minutes. Beat in the vanilla and lemon zest. Fold in the shredded carrots. Beat in the dry ingredients at low speed in 3 batches, mixing well between additions.
  4. Pour the batter into the prepared pan, filling it two-thirds full. Bake in the middle of the oven for 50 minutes to 1 hour, or until a cake tester inserted into the center of the loaf comes out clean. Let the loaf cool in the pans for 10 minutes before turning them out onto a rack to cool completely.

MAKE AHEAD Wrap the bread tightly in plastic and store at room temperature for up to 3 days or freeze for up to 2 months.

Nori Chips

I love to snack. Particularly before dinner in that 5-6pm dead space when you know it's too early to eat a full meal but late enough in the day when your brain naturally tends towards thoughts of culinary pleasure.

But snacking, as we have been told so often, is dangerous. Sure, you tell yourself you'll only nibble, so as to take "the edge off" but not spoil your dinner. But, if you're like me, this plan often comes to ruin. The cheese, the crackers, the nuts. Too often they do exactly what you had feared. Fill you up before you can enjoy the glories of dinner. This is a problem.

Which is why nori chips could perhaps be the best thing for the perpetual snacker. They are absolutely delicious: just enough saltiness to satisfy that nut/chip craving, but light enough so that it's physically impossible to spoil your dinner with them. They are literally "melt in your mouth" delicious.
Again, I must thank Bittman for this recipe. In his vegetarian cookbook, he repeatedly sings the praises of "seagreens" (seaweed to you and me). He puts them in everything as a filler, topping, or side dish, but I was more intrigued by the snack version of nori. Just as he promised, they literally took seconds to make (and seconds to eat). As long as you can find seaweed sushi wrappers in your grocery store, you're golden. No extra special version is required. Dark sesame oil is best for these, just because it adds just another hint of flavor, but whatever oil you can find will work perfectly.

Honestly, I know they look weird. Just try them. Your snacking self will thank you.

Ingredients
6 sheets nori
2 tablespoons dark sesame oil
Salt

Method
Put a skillet over medium high heat. Brush the nori with the sesame oil and sprinkle with salt. Put a single nori sheet in the pan and toast it until it shrinks up, about 15 seconds. Turn it over and toast the other side for 15 seconds.

Use scissors to cut the sheets into rectangular "chips". Serve within a few hours.

Vegetarian Posole with Mole

Anyone who knows me knows of my love of posole.
Or is it pozole?
Regardless, this is the single best thing about coming home to Phoenix. And not just any pos/zole. No, no. It must be made by Maria, goddess of Mexican cuisine, chef and owner of El Conquistador Mexican Restaurant. As is only right, she makes posole (both red and green) only on weekends, giving the broth time to marinate and thicken and become, in a word, wonderful.
Now, my personal favorite is her green variety. Made with pork, topped with slices of avocado and chicharrones (pork scratchings), and a healthy sprinkling of oregano, this soup is the stuff of dreams. Literally.
Because I'm unable to make the pilgrimage to the homelands very often, I'm always on the lookout for a posole recipe that could rival Maria's. And I have yet to find one. Too often they are thin watery things, with none of that fabulous deep rich flavor that makes Maria's so more-ish. Think more of a tortilla soup than a true hearty posole. And so I have been disappointed time and again when making them myself.
So when I saw a recipe in Bittman's Vegetarian cookbook, I was sure I was in for another let down. Yet my mother (who was a similar devotee of Maria's soups) has recently turned vegetarian, which has meant a sad new lack of posole in her life. I had to take pity and make this vegetarian version for her. We both knew it couldn't rival the Maria's, but still, we had to try.
And surprise, surprise! This may be the best homemade posole recipe I've found. Granted, there was a stunning lack of pork and thus it missed the rich meatiness to the original, but still, the thick broth, flavored with pumpkin seeds and tomatillos was spot on (also the addition of pork scratchings for my helping didn't hurt either). If I had a mind to make this for a non-vegetarian crowd, the addition of pork might send this recipe over the top to even rival Maria's version. I know this to be heresy, but still, Bittman deserves his credit for creating a vegetarian version of a soup that I thought to be solely within the realm of the meat-eating population.
Kudos, Bitty.
Kudos.

Makes: at least 8 servings

Ingredients
6 cups precooked hominy (i.e. canned)
1 1/2 cups freshly toasted pepitas (pumpkin seeds, just toasted in a dry pan until lightly brown and popping)
4-6 cups vegetable stock (or chicken stock for the non-vegetarians)
1 large onion, chopped
4 cloves garlic, chopped
4 medium poblano or other mild fresh green chiles, roasted and cleaned (I did mine under the broiler in the oven for about 5-10 minutes, remove the skin and seeds)
2 serrano or other hot green fresh chiles, roasted and cleaned (see above)
1 lb tomatillos (16-20 depending on size), husked and rinsed (canned are okay, but include their juices)
1 cup chopped fresh cilantro
1/4 cup chopped fresh parsley
2 tablespoons chopped epazote or radish greens (optional, I couldn't find any so mine was without)
1 tablespoon fresh oregano or marjoram leaves
salt and black pepper
1/4 neutral oil, like corn or grapeseed

Optional Toppings:
Sliced avocado

Chicharrones (pork scratchings/rinds)

Method
Place the pepitas and 1 cup of the stock in a blender or food processor; puree until smooth; transfer to a large bowl. Put the onion, garlic, chiles, tomatillos, herbs, and a large pinch of salt and pepper in the blend or food processor and puree until smooth (I had to do mine in batches, also add a bit more stock or water if necessary). Mix the tomatillo puree with the pumpkin seed puree.

Put the oil in a large pot over medium high heat; add the mixed puree and cook, stirring frequently, until it's dry, 10-15 minutes. Gradually stir in another 3 cups of the remaining stock; reduce the heat to a gentle bubble and cook, stirring occasionally, until thickened, another 15 minute or so.

Add the hominy. Taste and adjust the seasonings. Serve hot with various garnishes.