
England may be missing many things, but apart from Lucky Charms (marshmallows for breakfast! What's not to love?), Cheez-Its are perhaps my biggest US food craving. Try and find a similar cracker in the UK and you'll find yourself fruitlessly searching the cracker aisle. Nothing comes close to the "more-ish" taste of this bite of cheesy bliss. I thought, apart from those willing to smuggle me some from the land of the free, that I would have to go without the little morsels until I returned to the American lands.
Not so!
In my search for Super Bowl foods, I stumbled upon this recipe for chili and cheese crackers. "Zesty", the website promised me. "Addictive little lovelies," it promised. The recipe looked simple enough, why not?
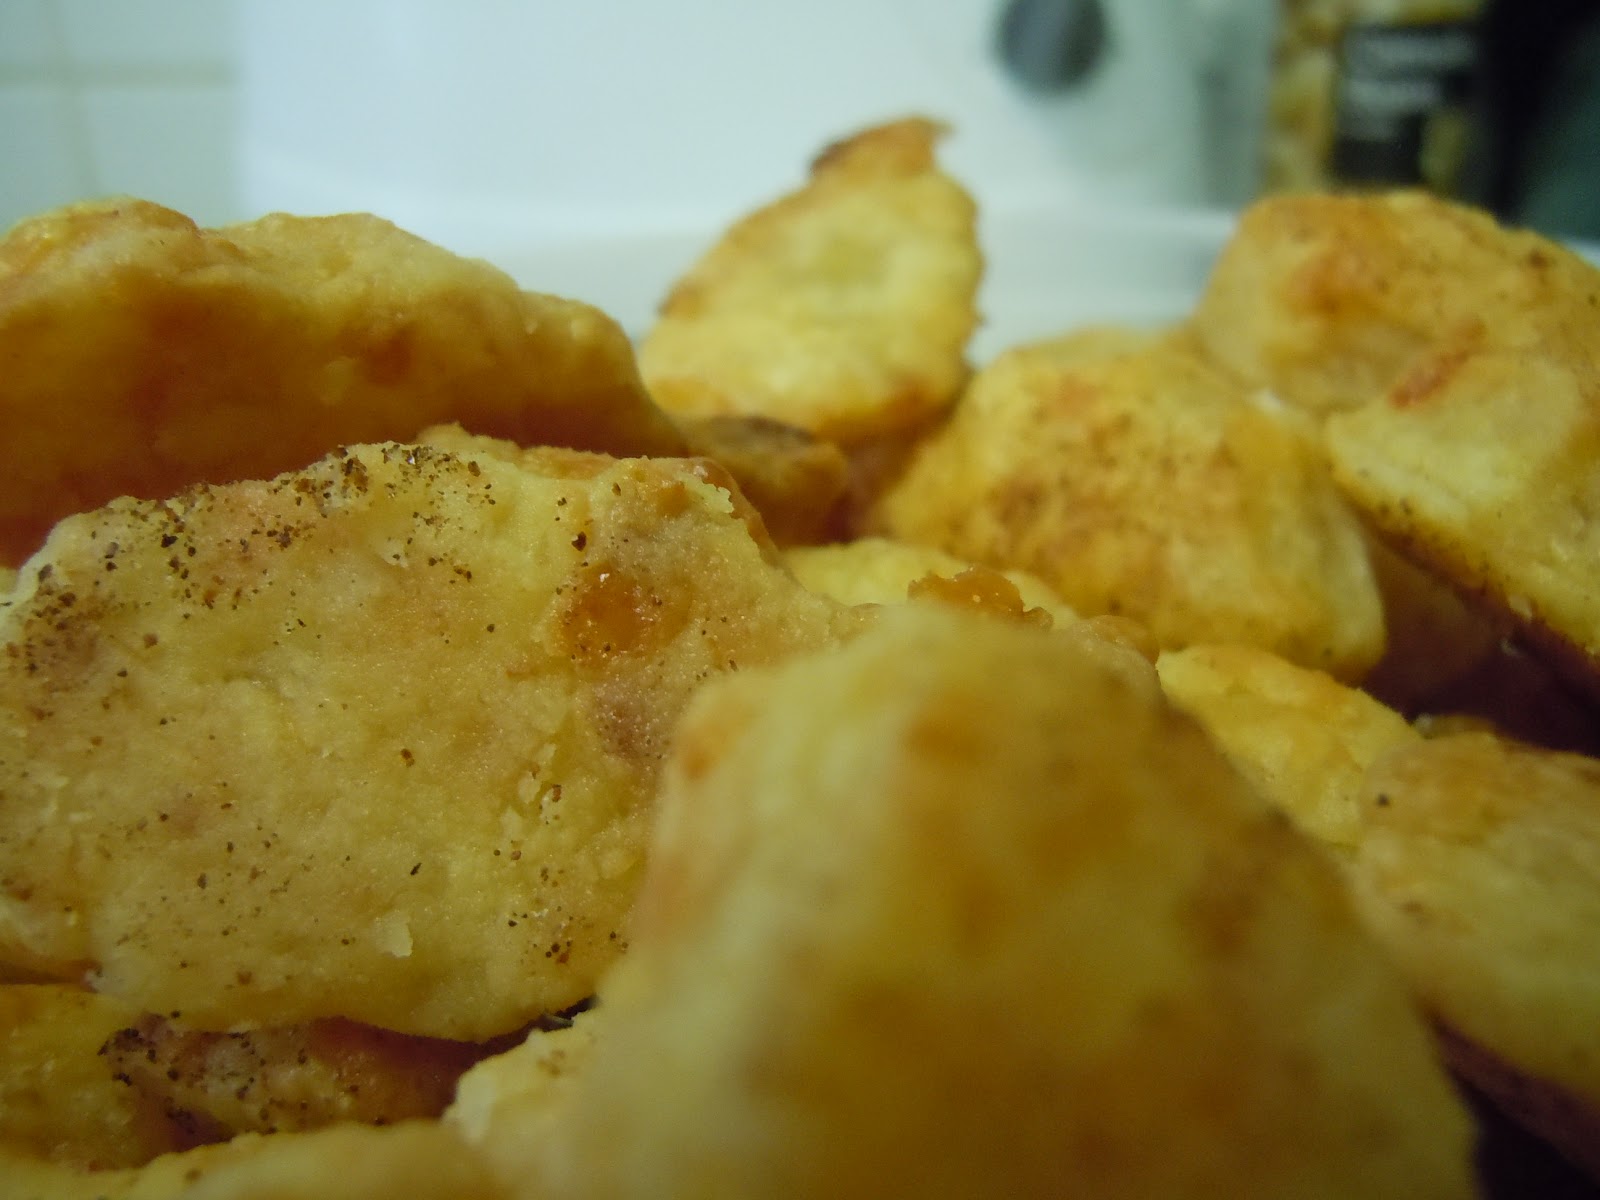
Oh, I had no idea what joy I was setting myself up for. Out from my own oven emerged little puffs of cheesy deliciousness, close enough to the original Cheez-It that I had trouble not scarfing down the whole batch before guests arrived to try them for themselves.
Now, although my previous attempts at crackers had been fairly successful in the taste department, they lacked a certain, how do we say, "aesthetic flair". They looked like a crumbly mess. But after a bit of searching, to my accidental delight, I realized that the "holly" cookie cutter (previously used on this year's Christmas cake) was the perfect size and shape for my newfound Cheez-Its. And lo, unto us, a Cheez-It was born.
Now, the original recipe was dead-on. These things can go from delicious to burned char in the oven in no time at all. So watch these puppies. I found that 20 minutes is just about dead on in terms of timing, but of course, this will depend on your own oven. Just keep a wary eye on them, it'll be worth the effort.
Ingredients
1 cup all-purpose flour, plus more for the work surface (approx. 120 grams)
3/4 teaspoon salt
1 teaspoon crushed red chili pepper flakes
4 tablespoons unsalted butter, chilled and diced (56.7 grams for those of us on metric)
8 ounces best-quality aged Cheddar cheese, grated (227 grams)
3 to 4 tablespoons cold water
Method
1. In a bowl, whisk together the flour, salt, and chilies. Transfer to the bowl of a food processor fitted with the blade attachment. Add the butter and pulse until the mixture resembles coarse meal. Add the cheese and pulse to combine.

